Your host uses ArrivHQ to manage their rental property, and they have sent you an invitation to join the guest portal for your upcoming stay. If this is your first time hearing about ArrivHQ, here is what to expect and how to get set up.
The invitation email
Check your inbox for an email from ArrivHQ. It includes the property name, your stay dates, and a button or link labeled Accept Invitation. If you do not see it, check your spam or junk folder — it sometimes ends up there. If you still cannot find it, reach out to your host directly and ask them to resend it.
The invitation is tied to the email address your host entered when they created your reservation. You need to accept using that same email address. If you prefer a different email, ask your host to send a new invitation to the one you want to use.
Creating your account
Click the Accept Invitation link in the email. If you do not already have an ArrivHQ account, you are prompted to create one. Enter your name, email, and a password. That is it — your account is free. You are never charged anything to use ArrivHQ as a guest.
If you already have an ArrivHQ account from a previous stay (even with a different host), just sign in with your existing email and password. The new stay is added to your dashboard automatically alongside any other stays you may have.
What happens after you accept
Once you sign in or create your account, you land on your dashboard with the new stay visible. From here, you have access to everything your host has shared for your reservation:
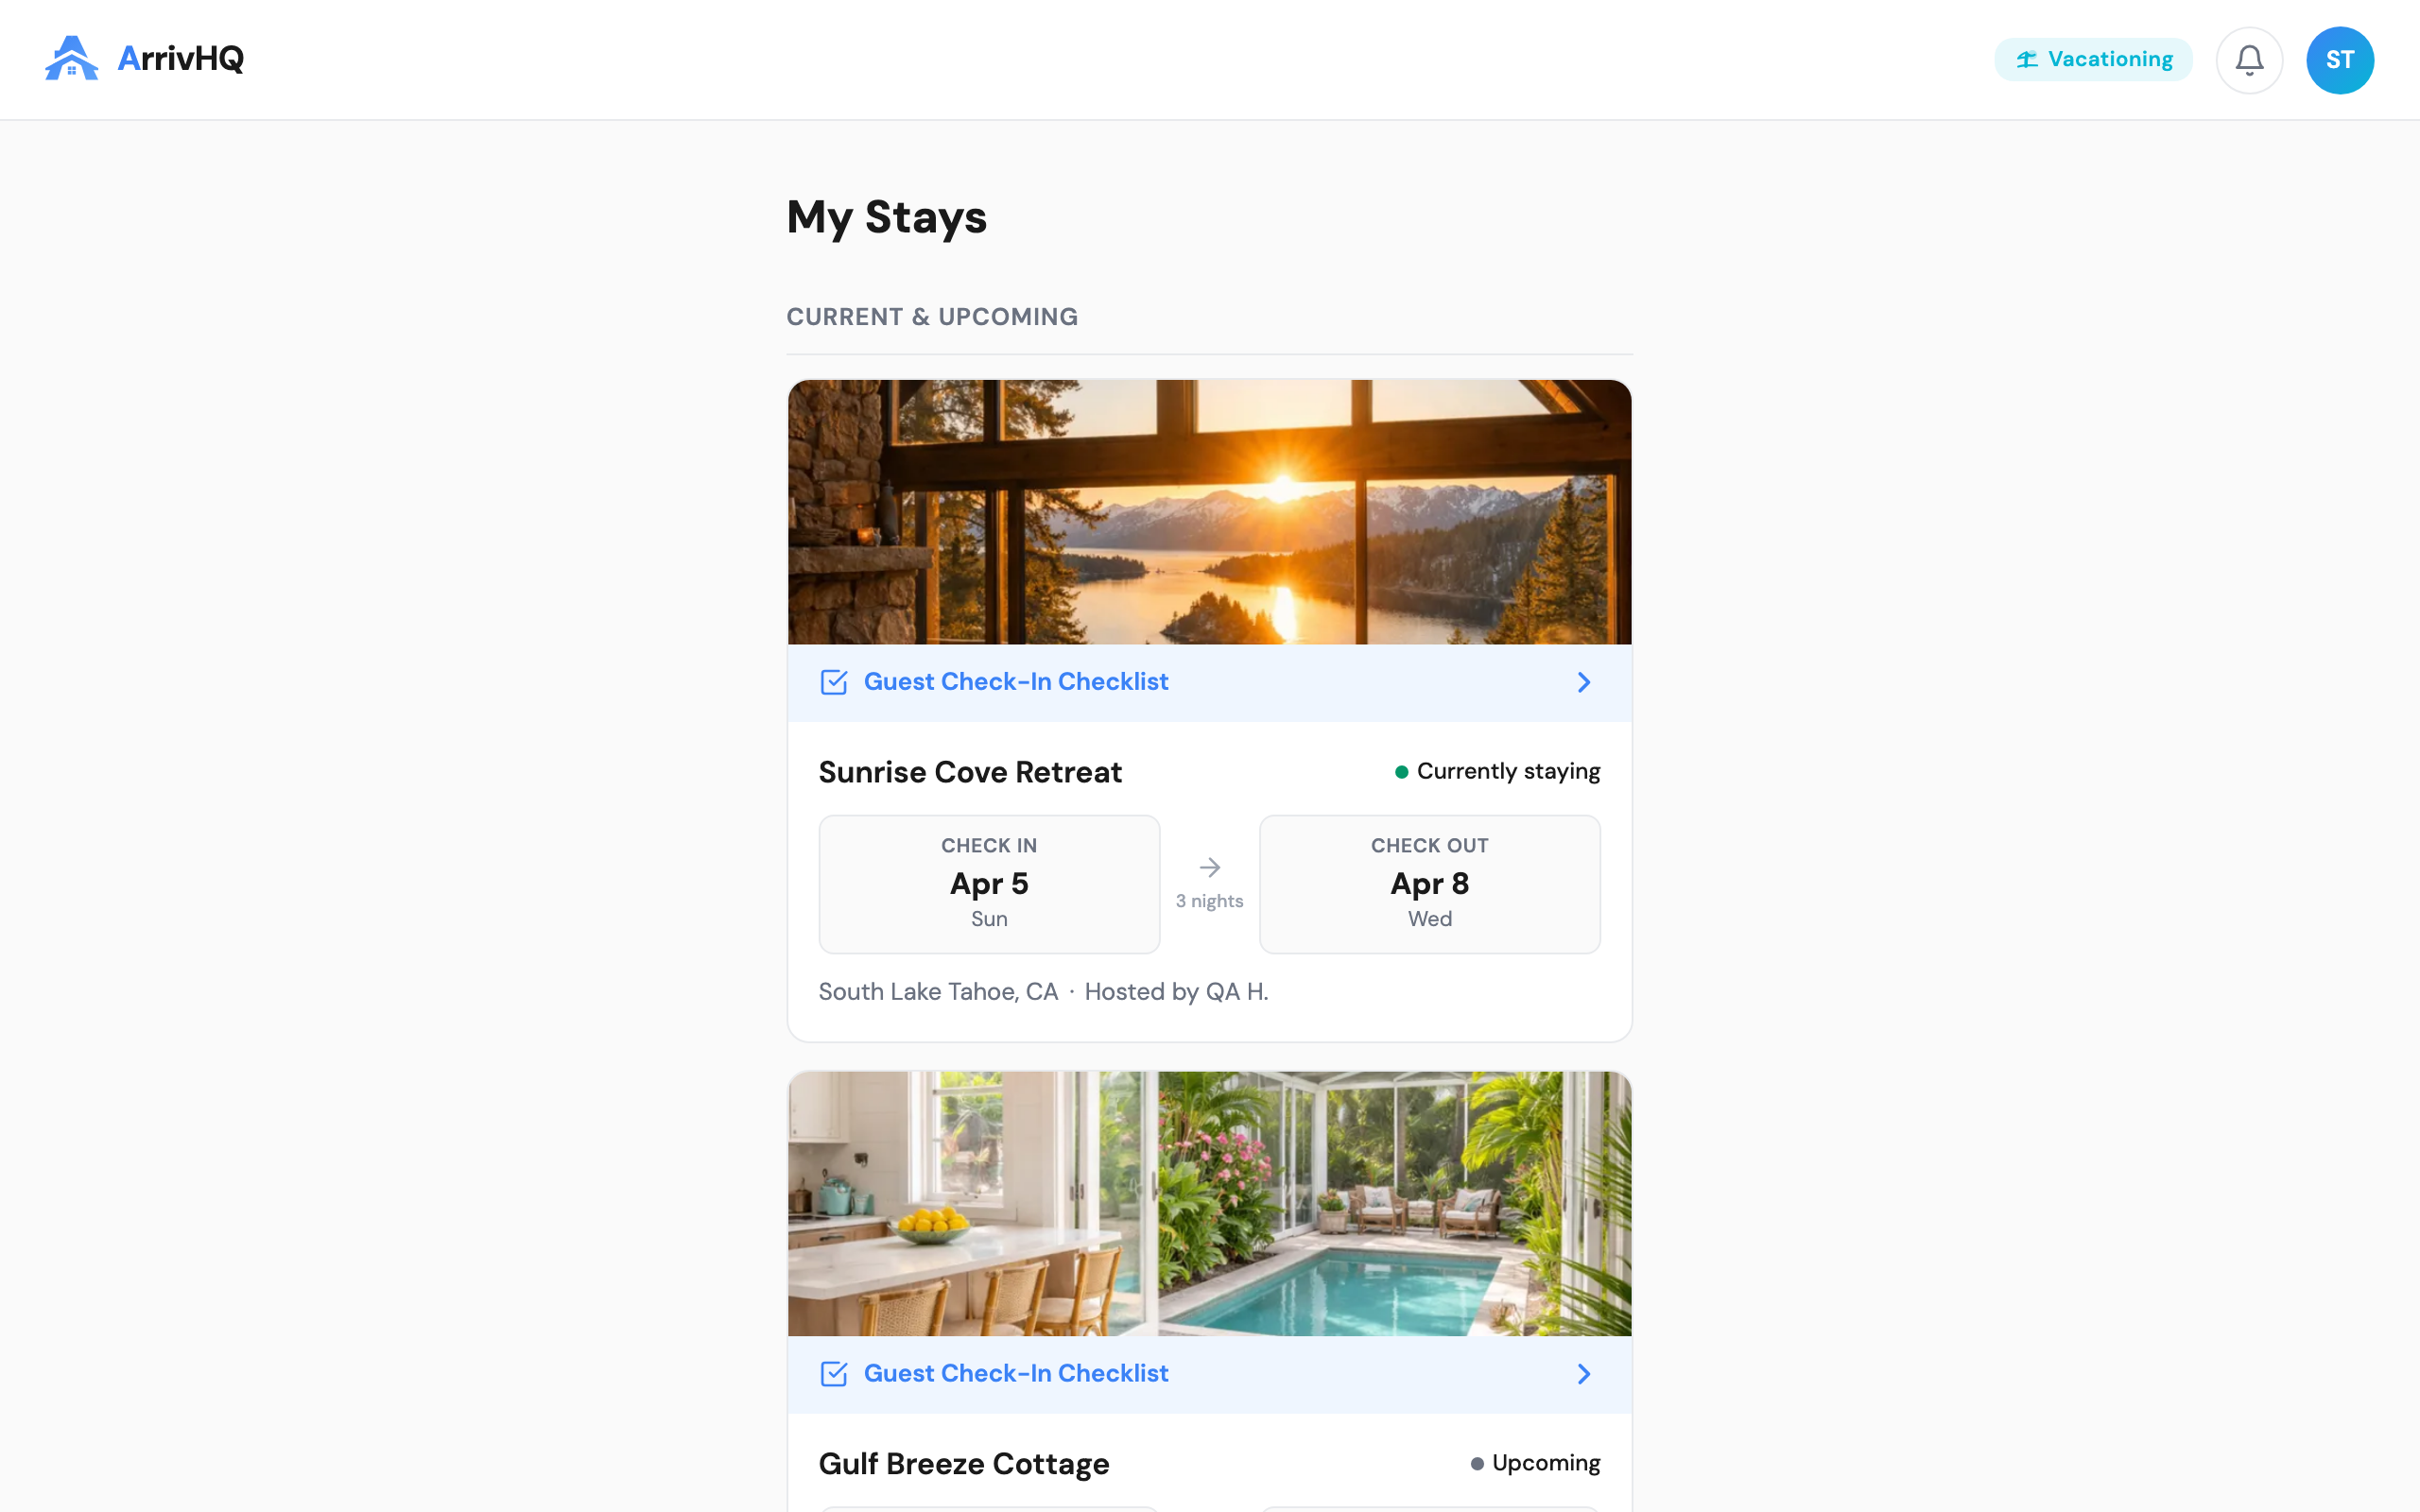
- Access codes — Door codes, lockbox codes, gate codes, and Wi-Fi credentials. These are displayed as large, easy-to-copy cards. Your host controls when this information becomes available, so some codes may appear closer to your check-in date.
- Property guide — Directions to the property, parking instructions, check-in and check-out procedures, appliance guides, trash schedules, and local recommendations.
- House rules — Quiet hours, pet policies, maximum occupancy, smoking rules, and anything else your host wants you to know before arrival.
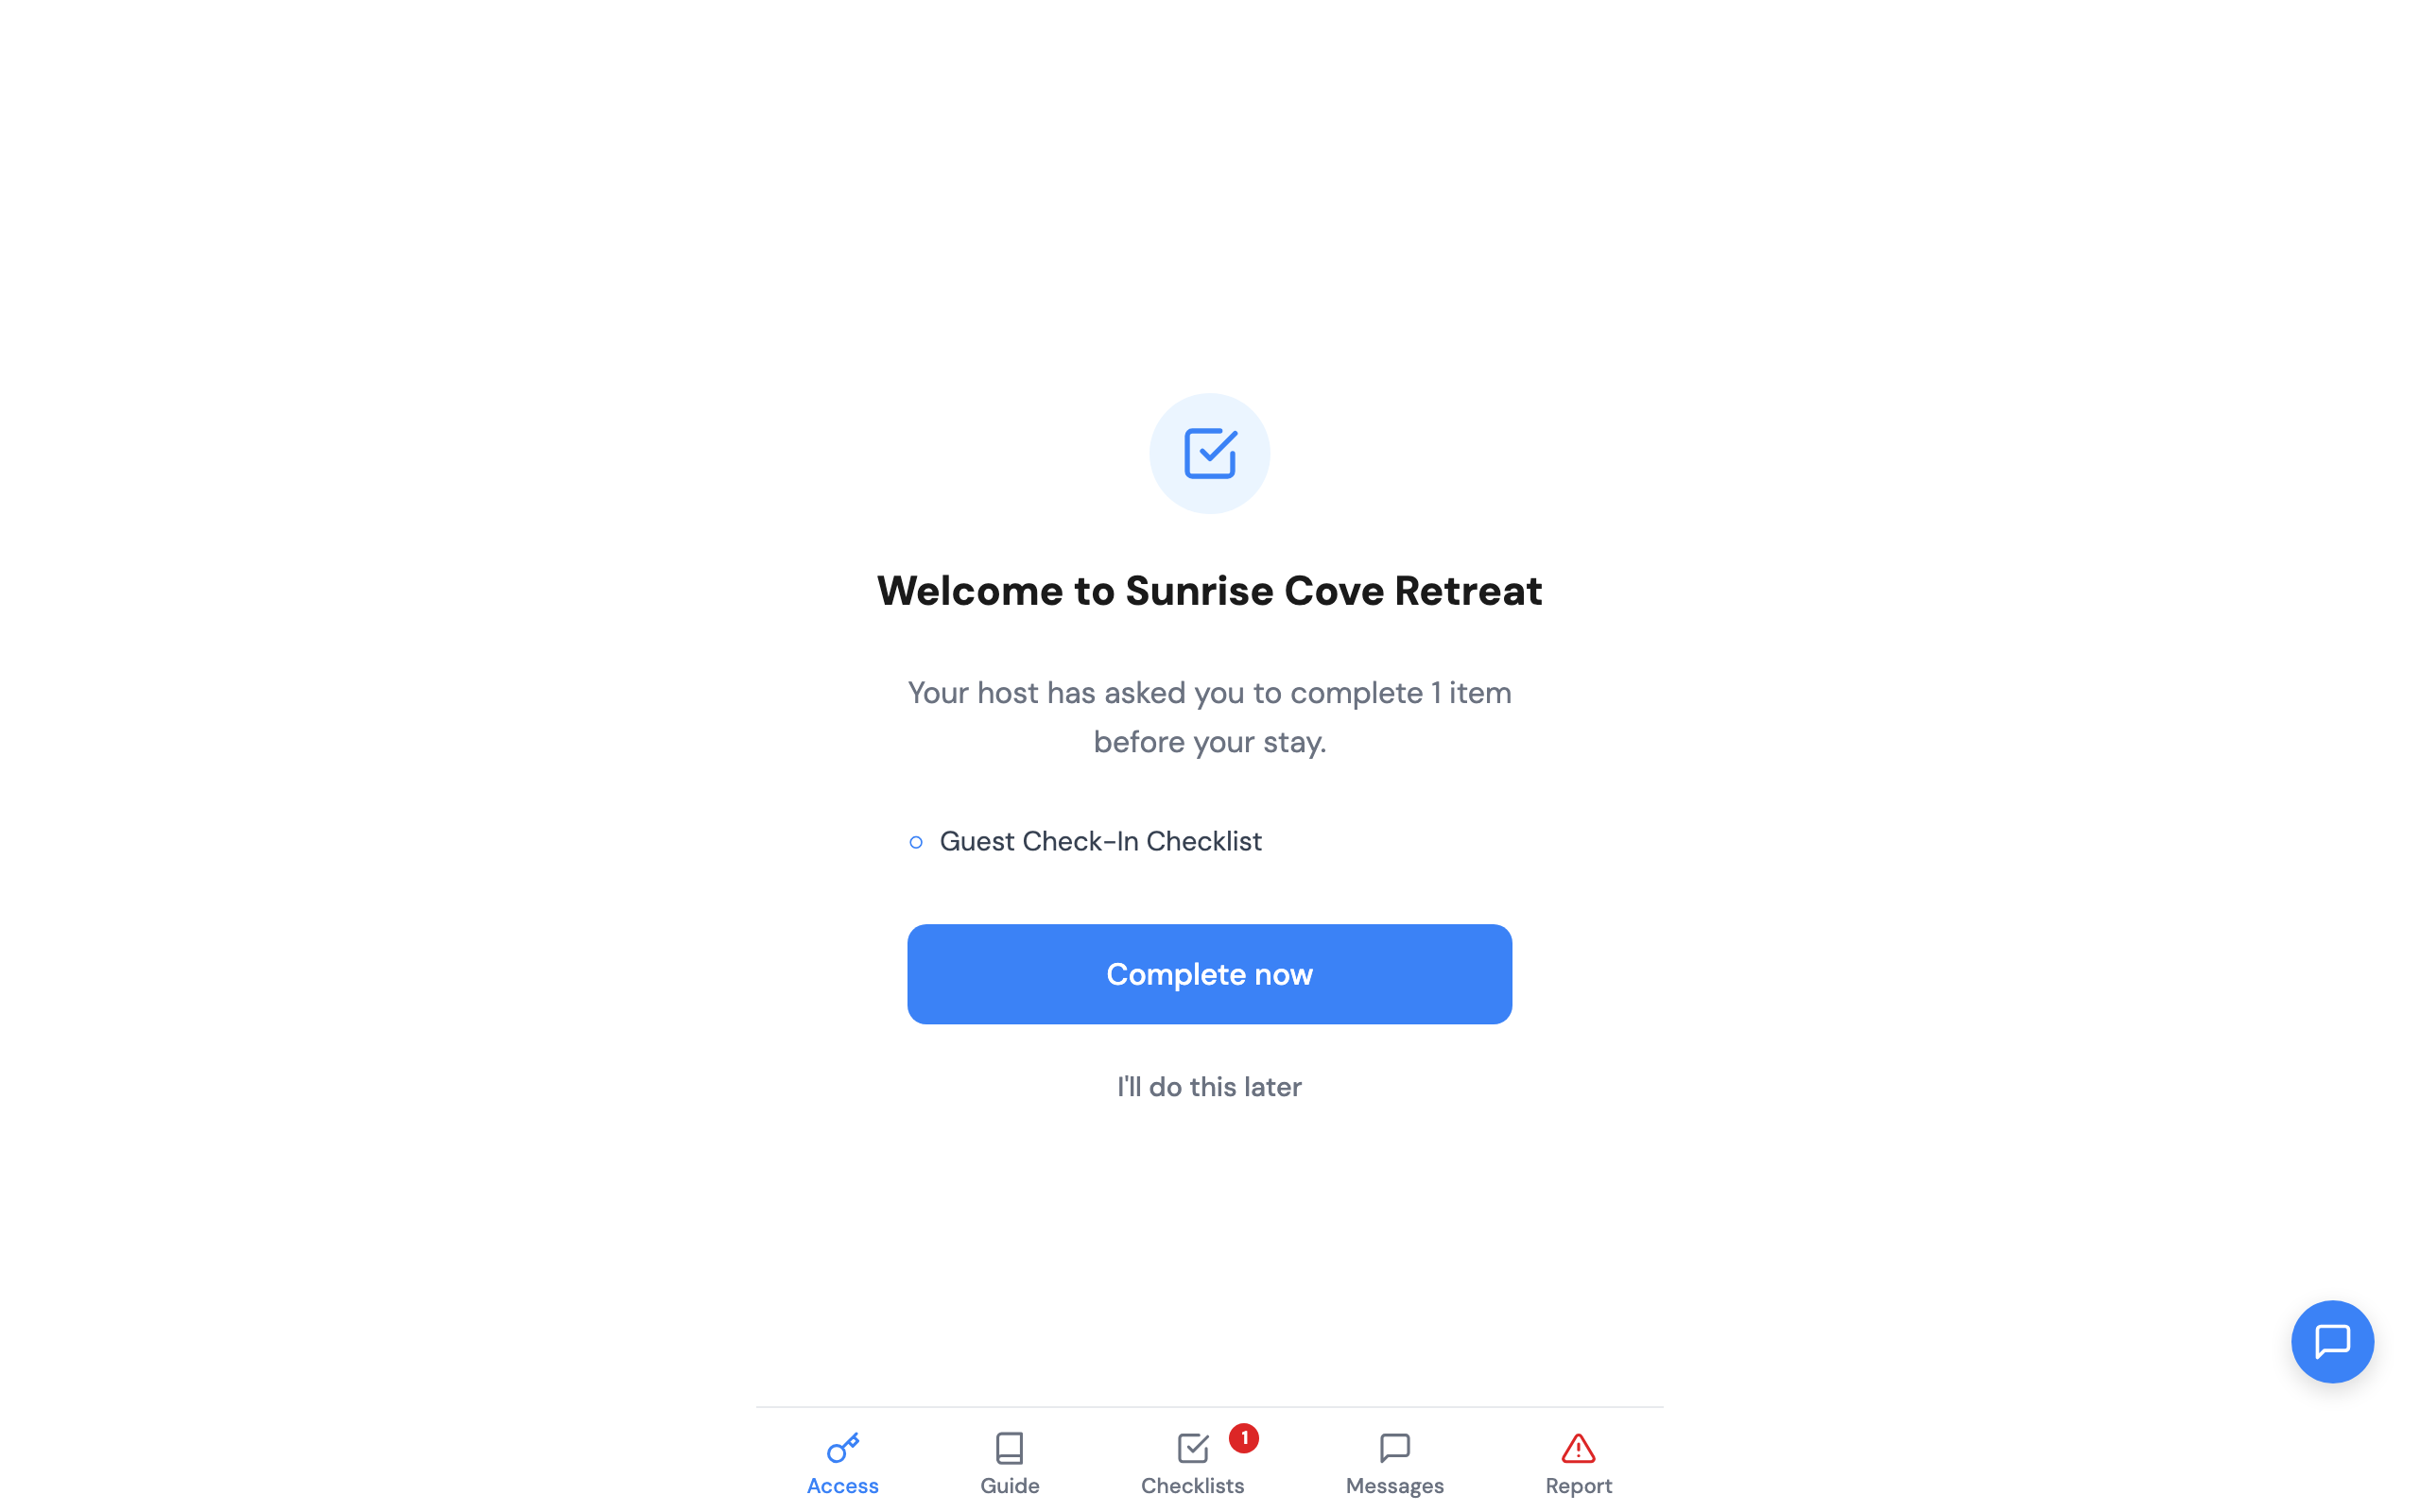
- Checklists — Some hosts assign checklists for you to complete. These might include acknowledging house rules, signing a waiver, or confirming a guest count.
- Messages — A direct conversation thread with your host. Ask questions, report issues, or just say hello.
Timing
You can accept the invitation at any time — before, during, or even after the check-in date. Your access lasts until the check-out date. That said, accepting early is a good idea. It gives you time to review the property guide, complete any checklists, and ask questions before you arrive.
One account, many stays
Your ArrivHQ account is not limited to a single property or host. Every time you are invited to a new stay, it appears on your dashboard. You use the same email, same password, same account. Past stays remain visible for reference, and switching between properties is as simple as tapping a stay card on your dashboard.
Common questions
Do I need to download an app? No. ArrivHQ works in your mobile browser. Navigate to the sign-in page on your phone and sign in with your email and password.
What if I use a different email than the one my host invited? The invitation is tied to the specific email address your host entered. Create your account with that email, or ask your host to resend the invitation to a different address.
Is my information shared with other guests? No. Your conversation with your host is private. Other guests staying at the same property cannot see your messages or account details.
For more details, see the Guest Help Center.