Everything in ArrivHQ is organized under a property. Your expenses, revenue, work logs, mileage, checklists, guest data, and damage claims all belong to a specific property. Before you can track anything, you need at least one.
Here is how to set up a property from scratch and generate a guest guide using AI.
Adding a property
Click Add Property in the sidebar or on the Today page. You need two things: a property name and a street address (including city, state, and ZIP). Optionally add a description and upload a cover photo.
Click Create Property to save. The property name is what you and your team see in the dashboard. The address is used for mileage calculations and appears on compliance records. Both can be edited later from the property's Settings tab.
That is all it takes to create the property. Once saved, ArrivHQ launches the onboarding wizard to help you set up your guest guide.
The onboarding wizard
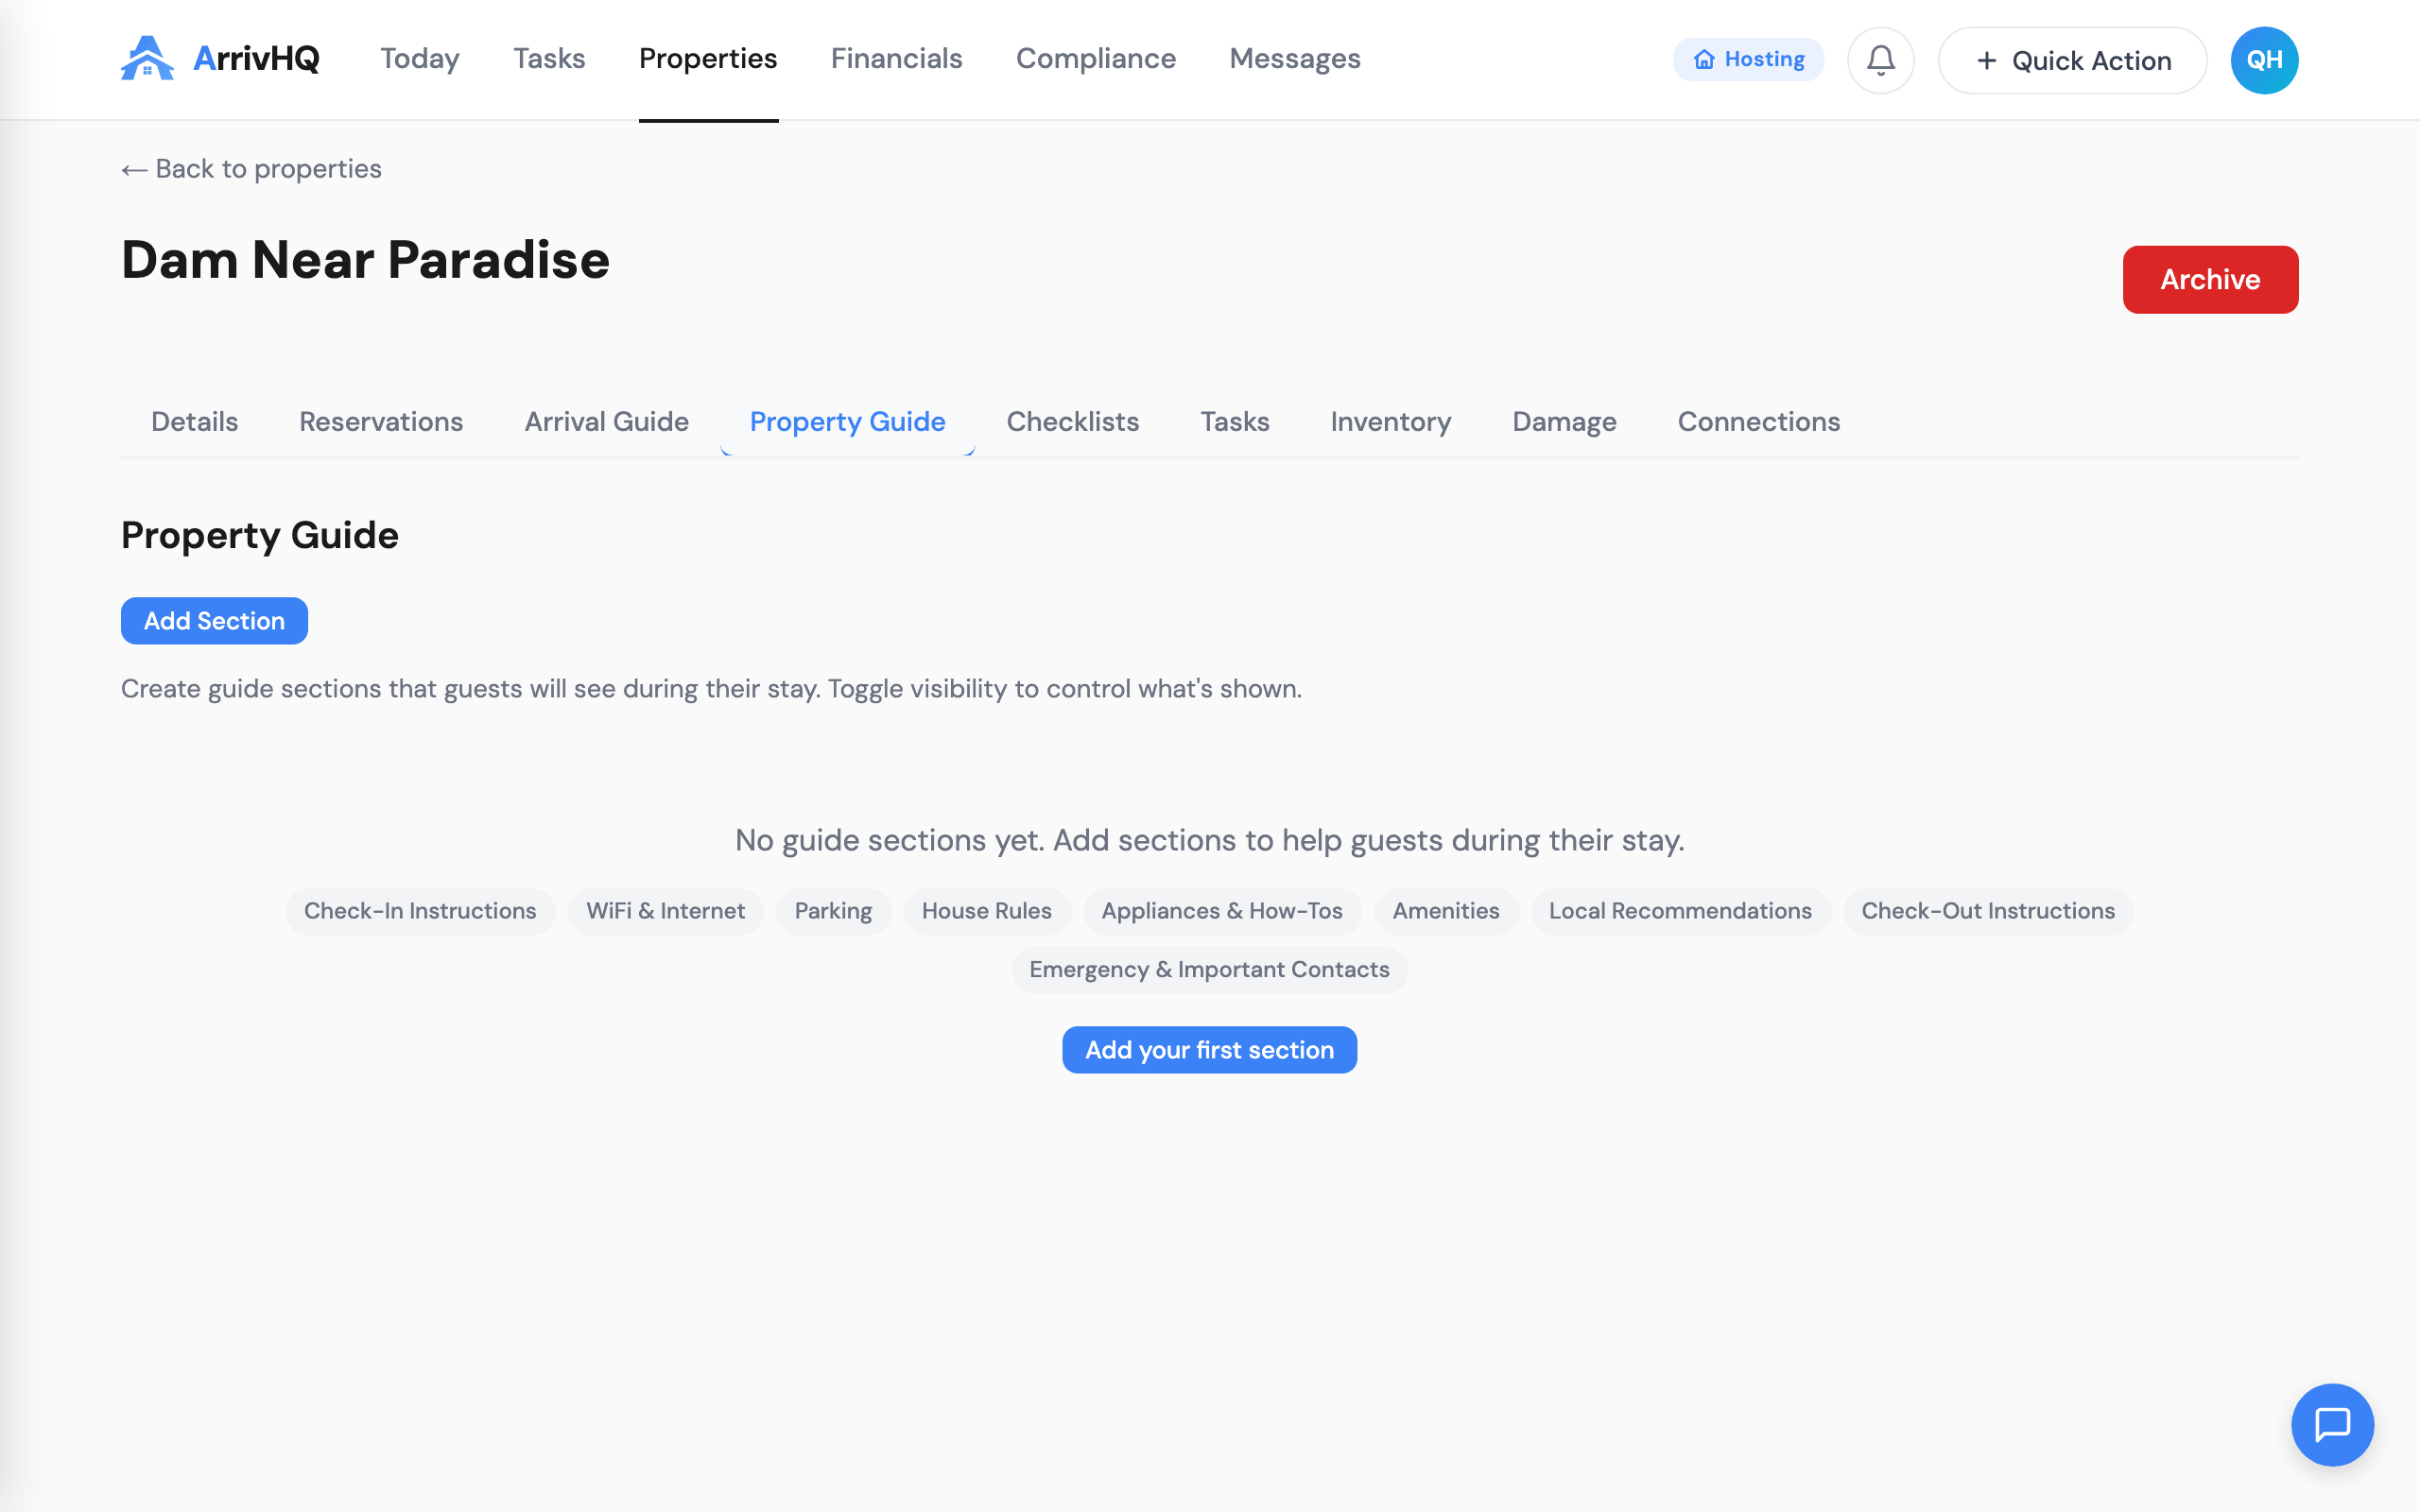
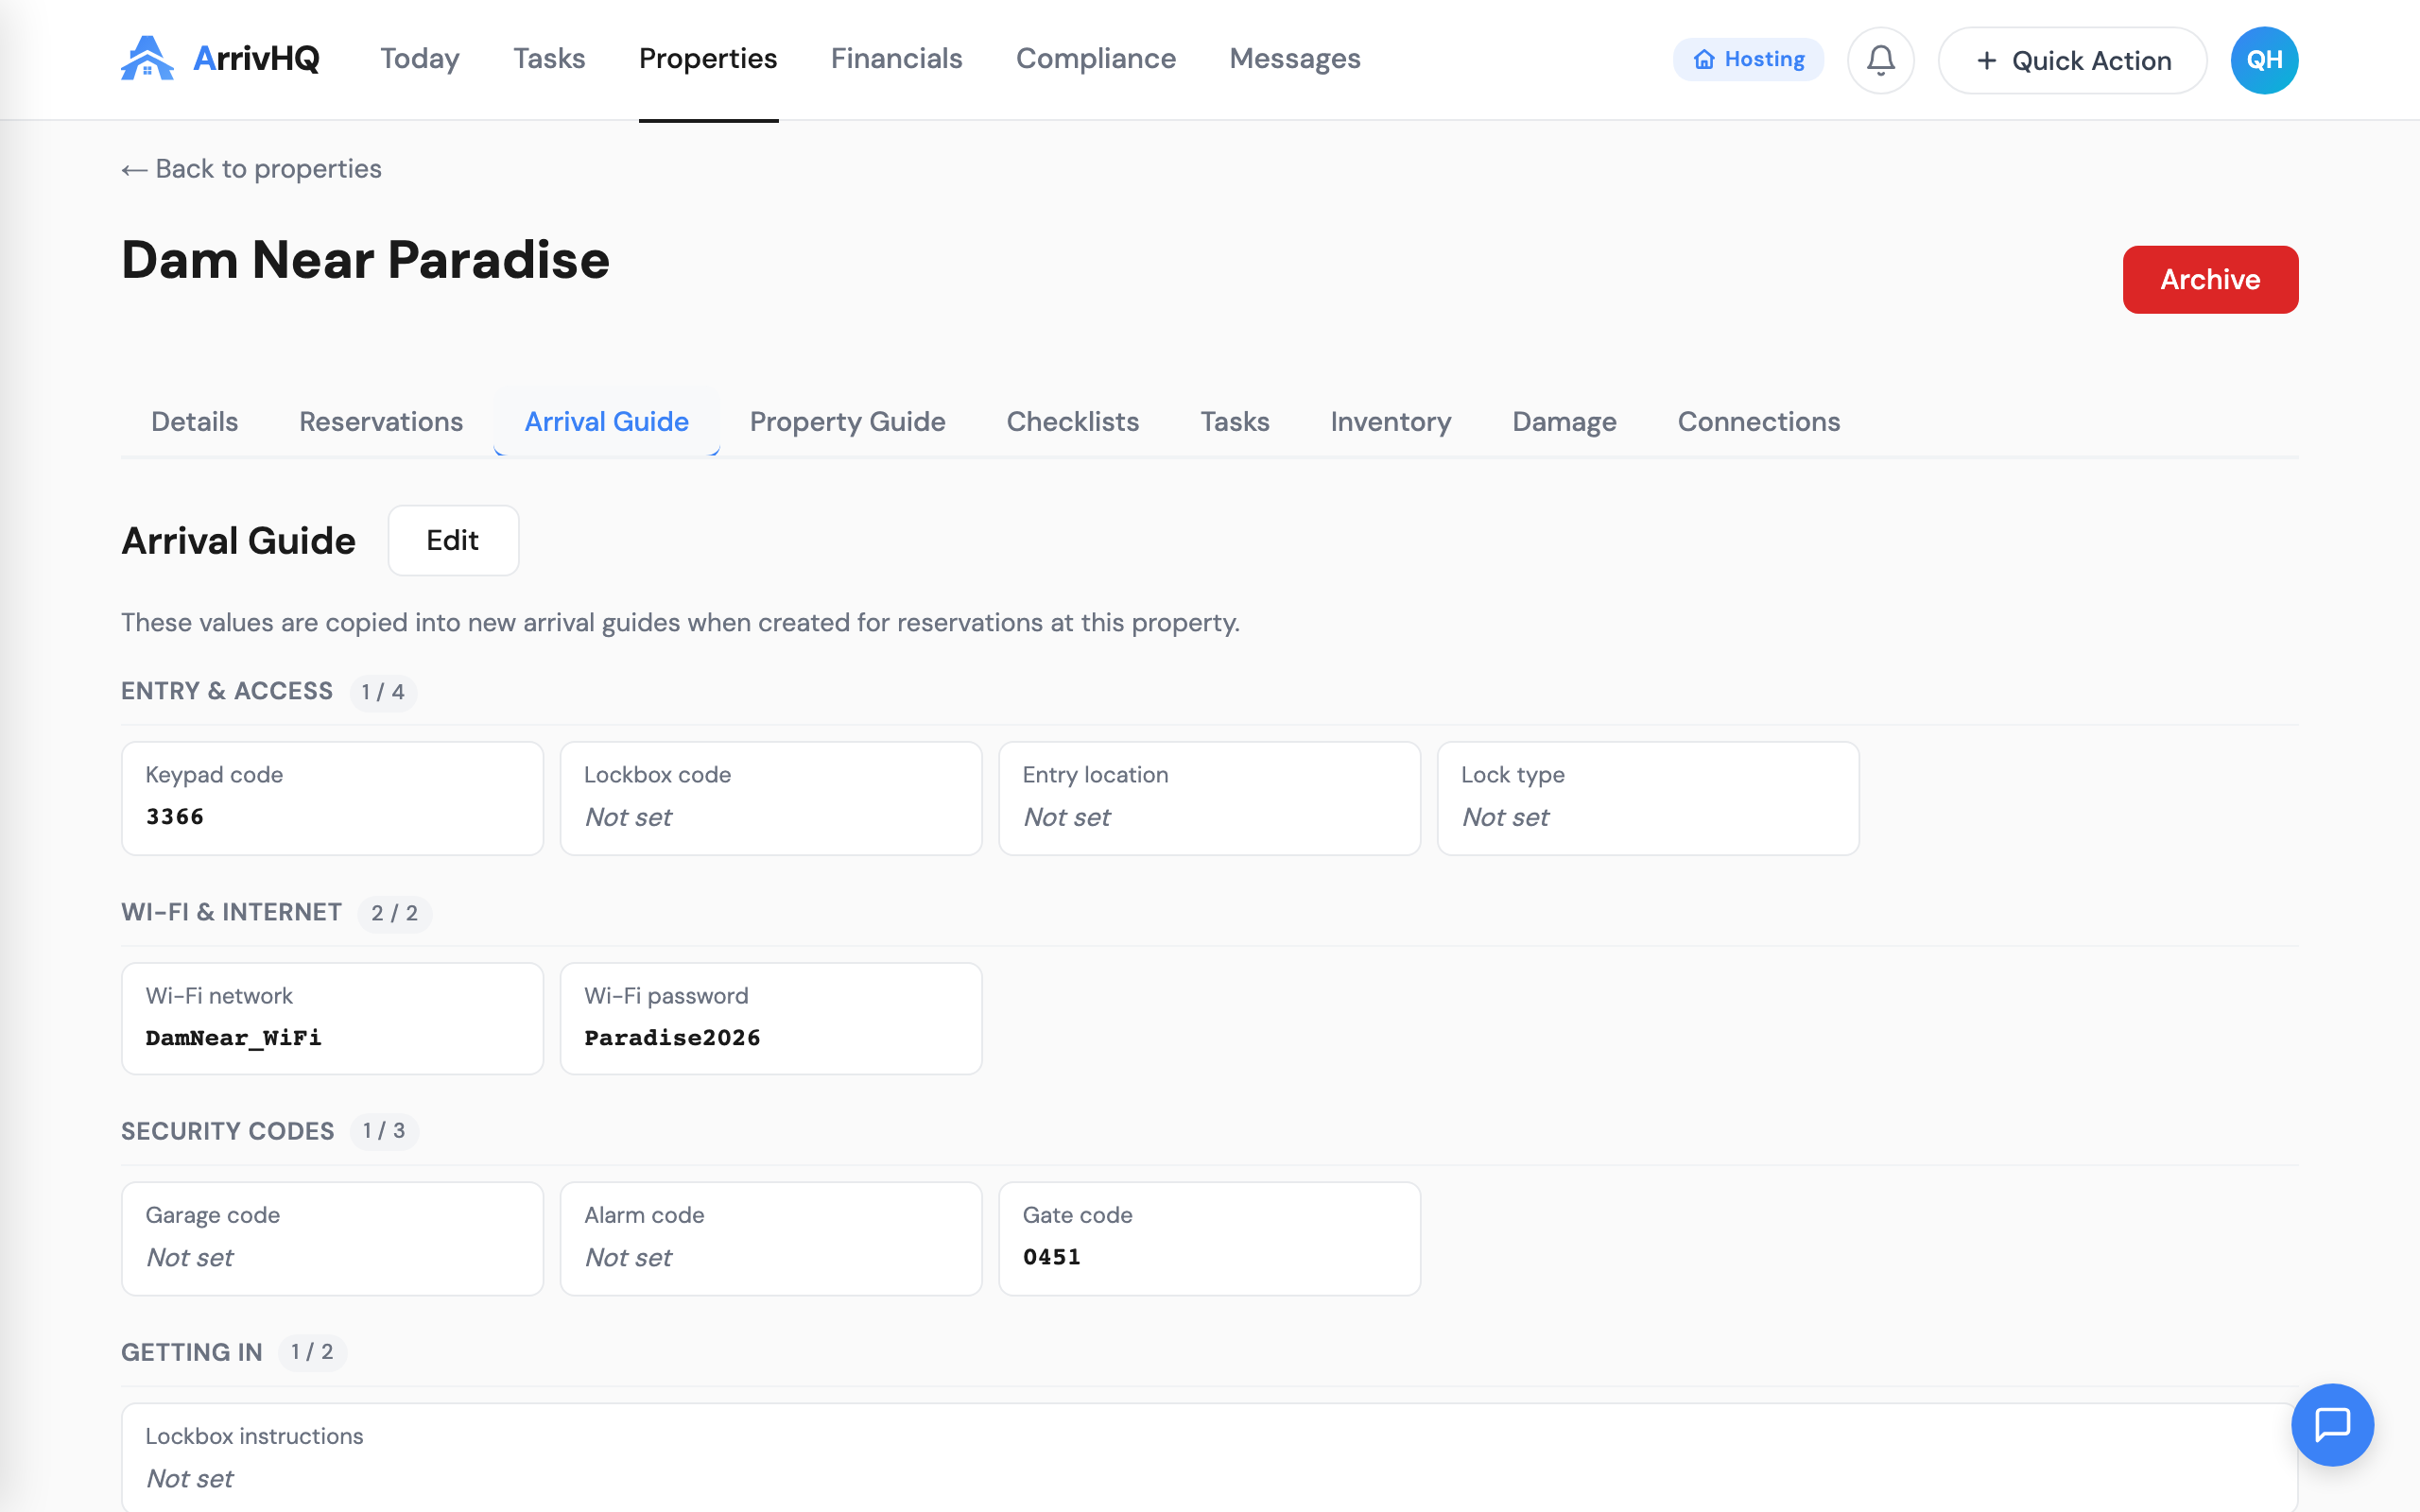
After creating a property, the onboarding wizard opens automatically. It walks you through several sections: check-in and check-out instructions, house rules, Wi-Fi and access codes, parking information, and local tips.
You do not need to fill in everything at once. You can skip any section and come back to it later — your property is usable as soon as you save the first step. But the more you provide here, the better the AI-generated guide will be.
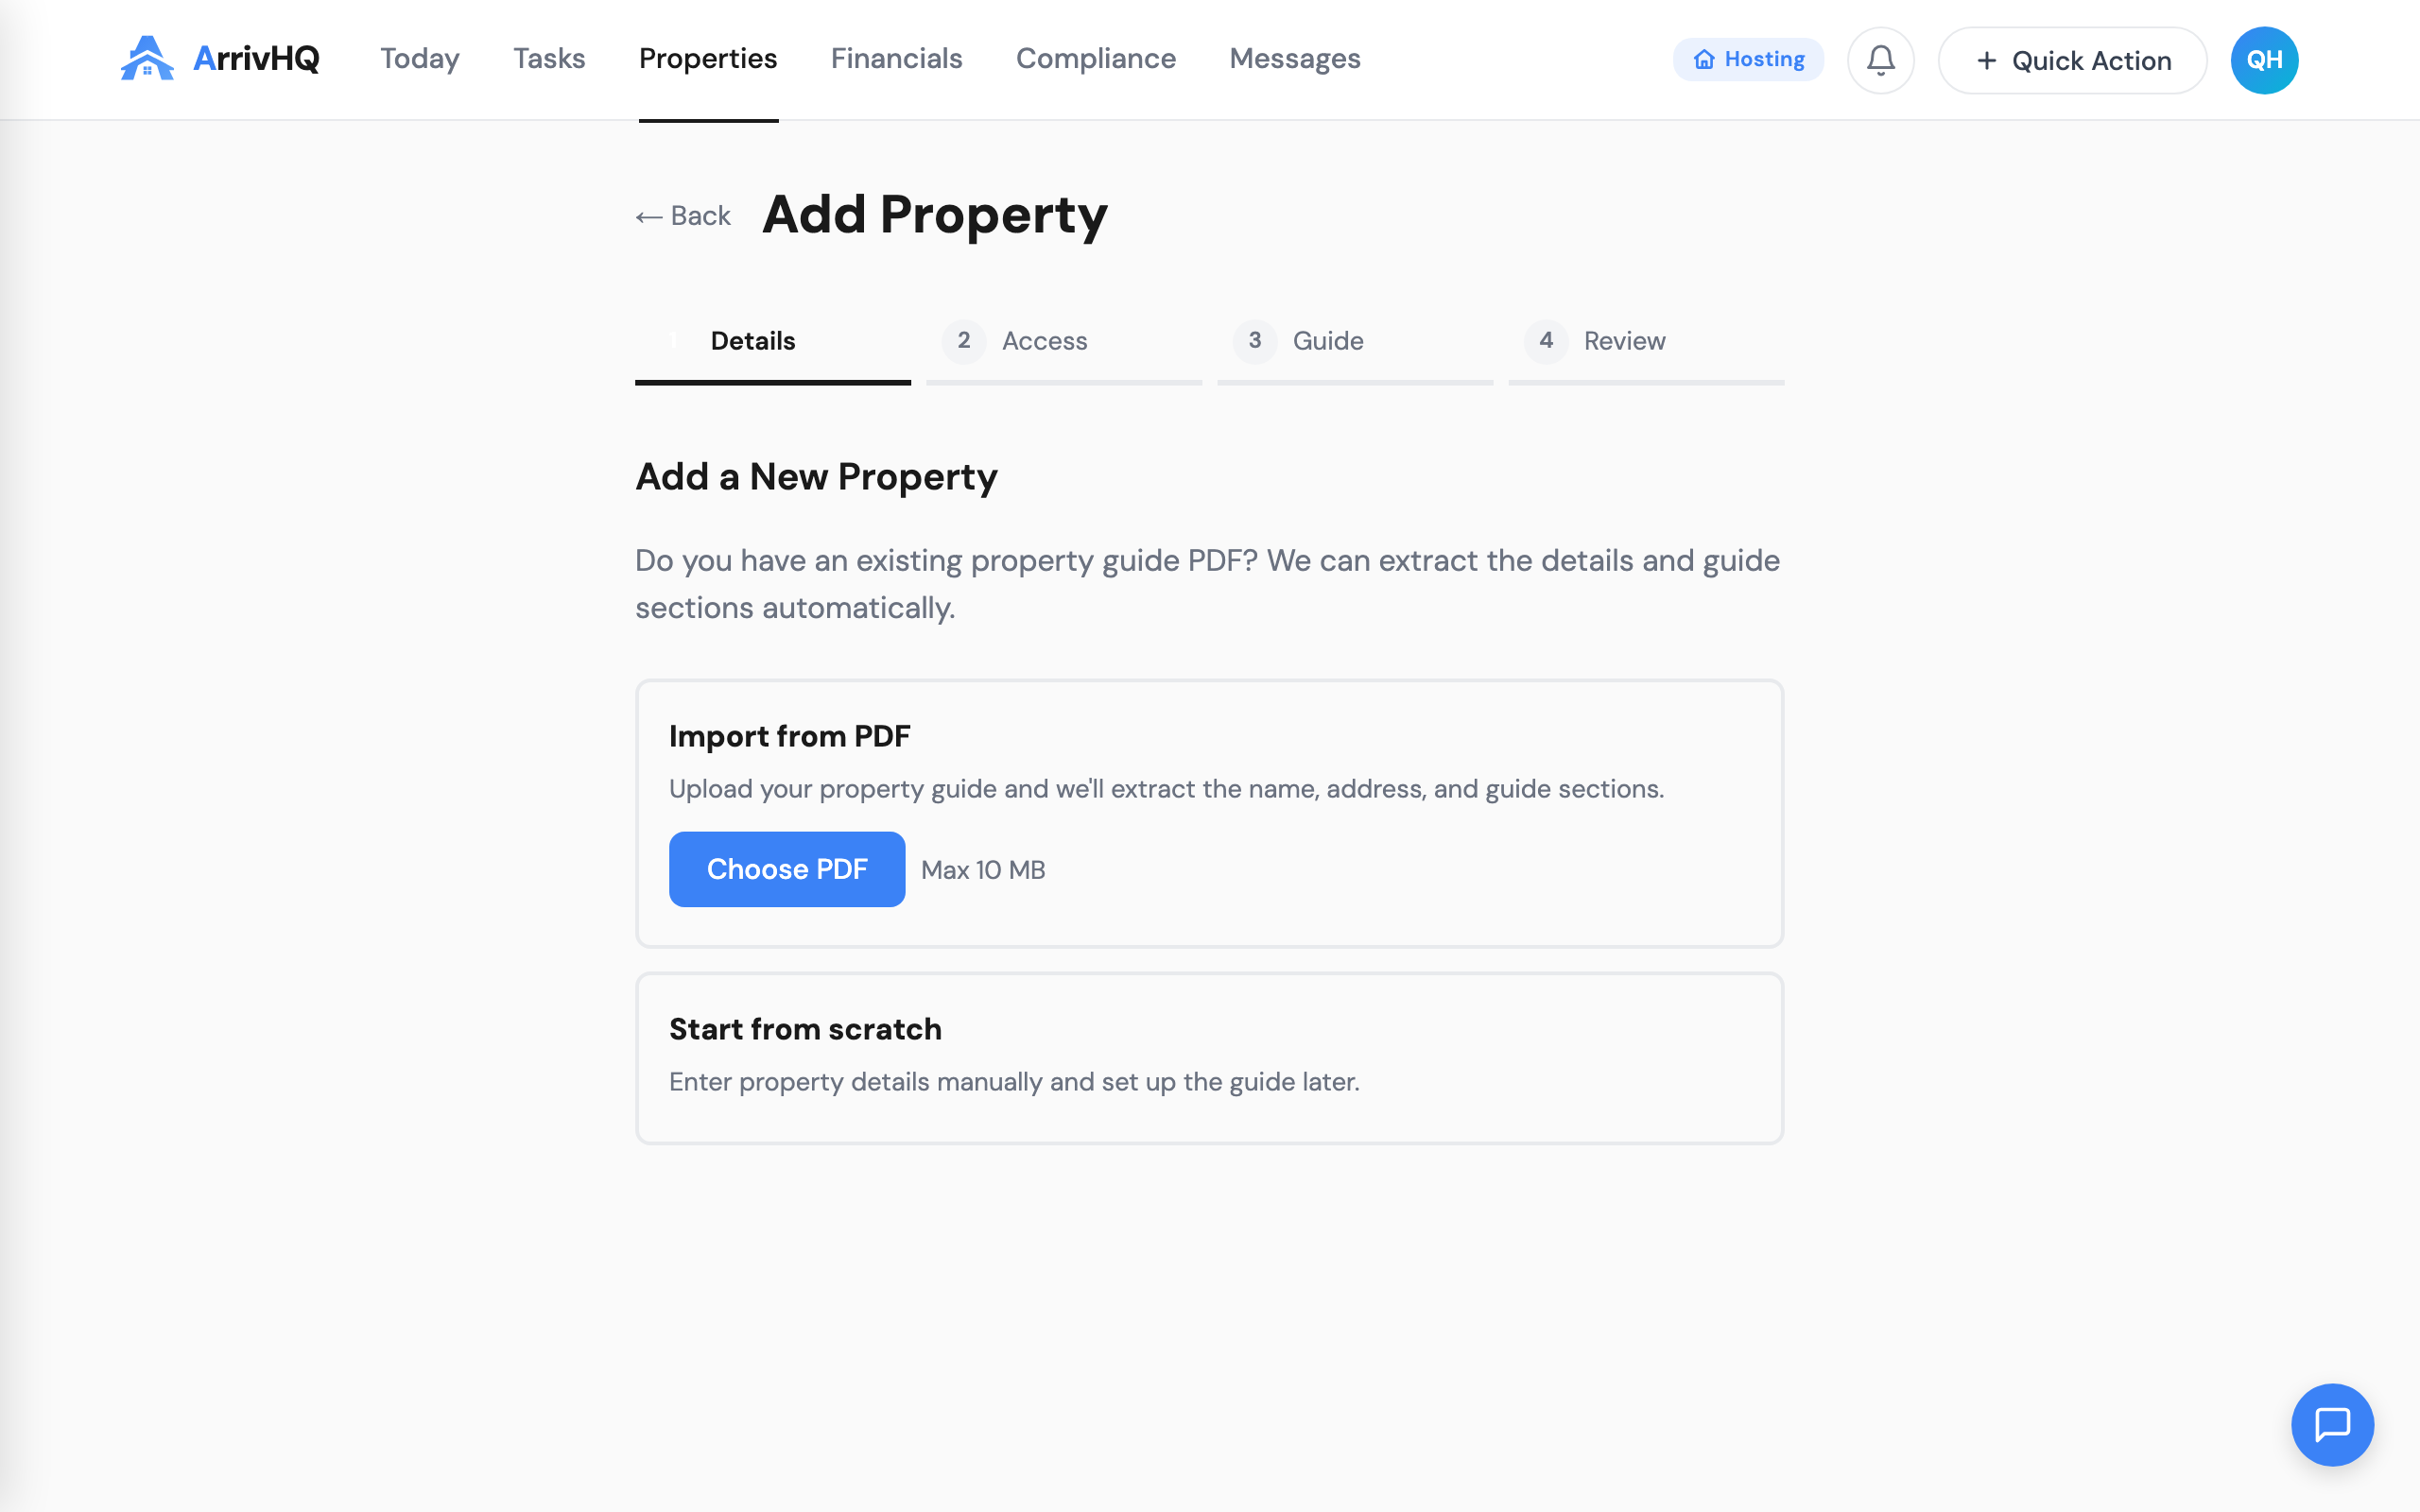
If you already have a property guide or welcome document as a PDF, you can upload it during onboarding. ArrivHQ extracts the details and generates structured guide sections automatically, even from scanned documents. This saves a significant amount of typing if you already have a welcome packet in another format.
AI guide generation
Once you have filled in some sections, click Generate Guide. The AI reads your inputs and produces a structured, plain-language guide covering everything a guest needs to know during their stay.
The generated guide is a starting point, not a final product. Review it carefully — edit any section directly, add details the AI missed, remove anything inaccurate, or rewrite sections in your own voice. When you are satisfied, click Publish. The guide becomes visible to guests through their guest portal.
You can return to the guide editor at any time from the property's settings. Changes take effect immediately after you save. You can also regenerate the guide if you have updated your inputs — but keep in mind that regenerating replaces the current guide content with a new draft.
The AI guide is available on all plans.
Your property's online presence
If you already have a property website — on Airbnb, VRBO, your own domain, or a listing platform — you can link it directly from your property settings. ArrivHQ displays your website inline within the guest portal, so guests can browse your listing, photos, and details without leaving ArrivHQ.
To add your website, open the property from the sidebar, go to Settings, and paste your property URL. Guests see it embedded in their portal alongside the arrival guide, access codes, and messaging.
This works with any URL — your Airbnb listing, a Squarespace site, a direct booking page, or a property management platform. ArrivHQ does not create a website for you. It brings your existing web presence into the guest experience so everything is in one place.
Editing property details
You can update your property's name, address, description, and cover photo at any time from the Settings tab. Changes to guest-facing fields (name, address, description, photo) update immediately in the guest portal.
A note on the address: changing it does not affect past mileage logs. Mileage logs record the distance at the time the trip was logged. Updating the address only affects future calculations.
Archiving
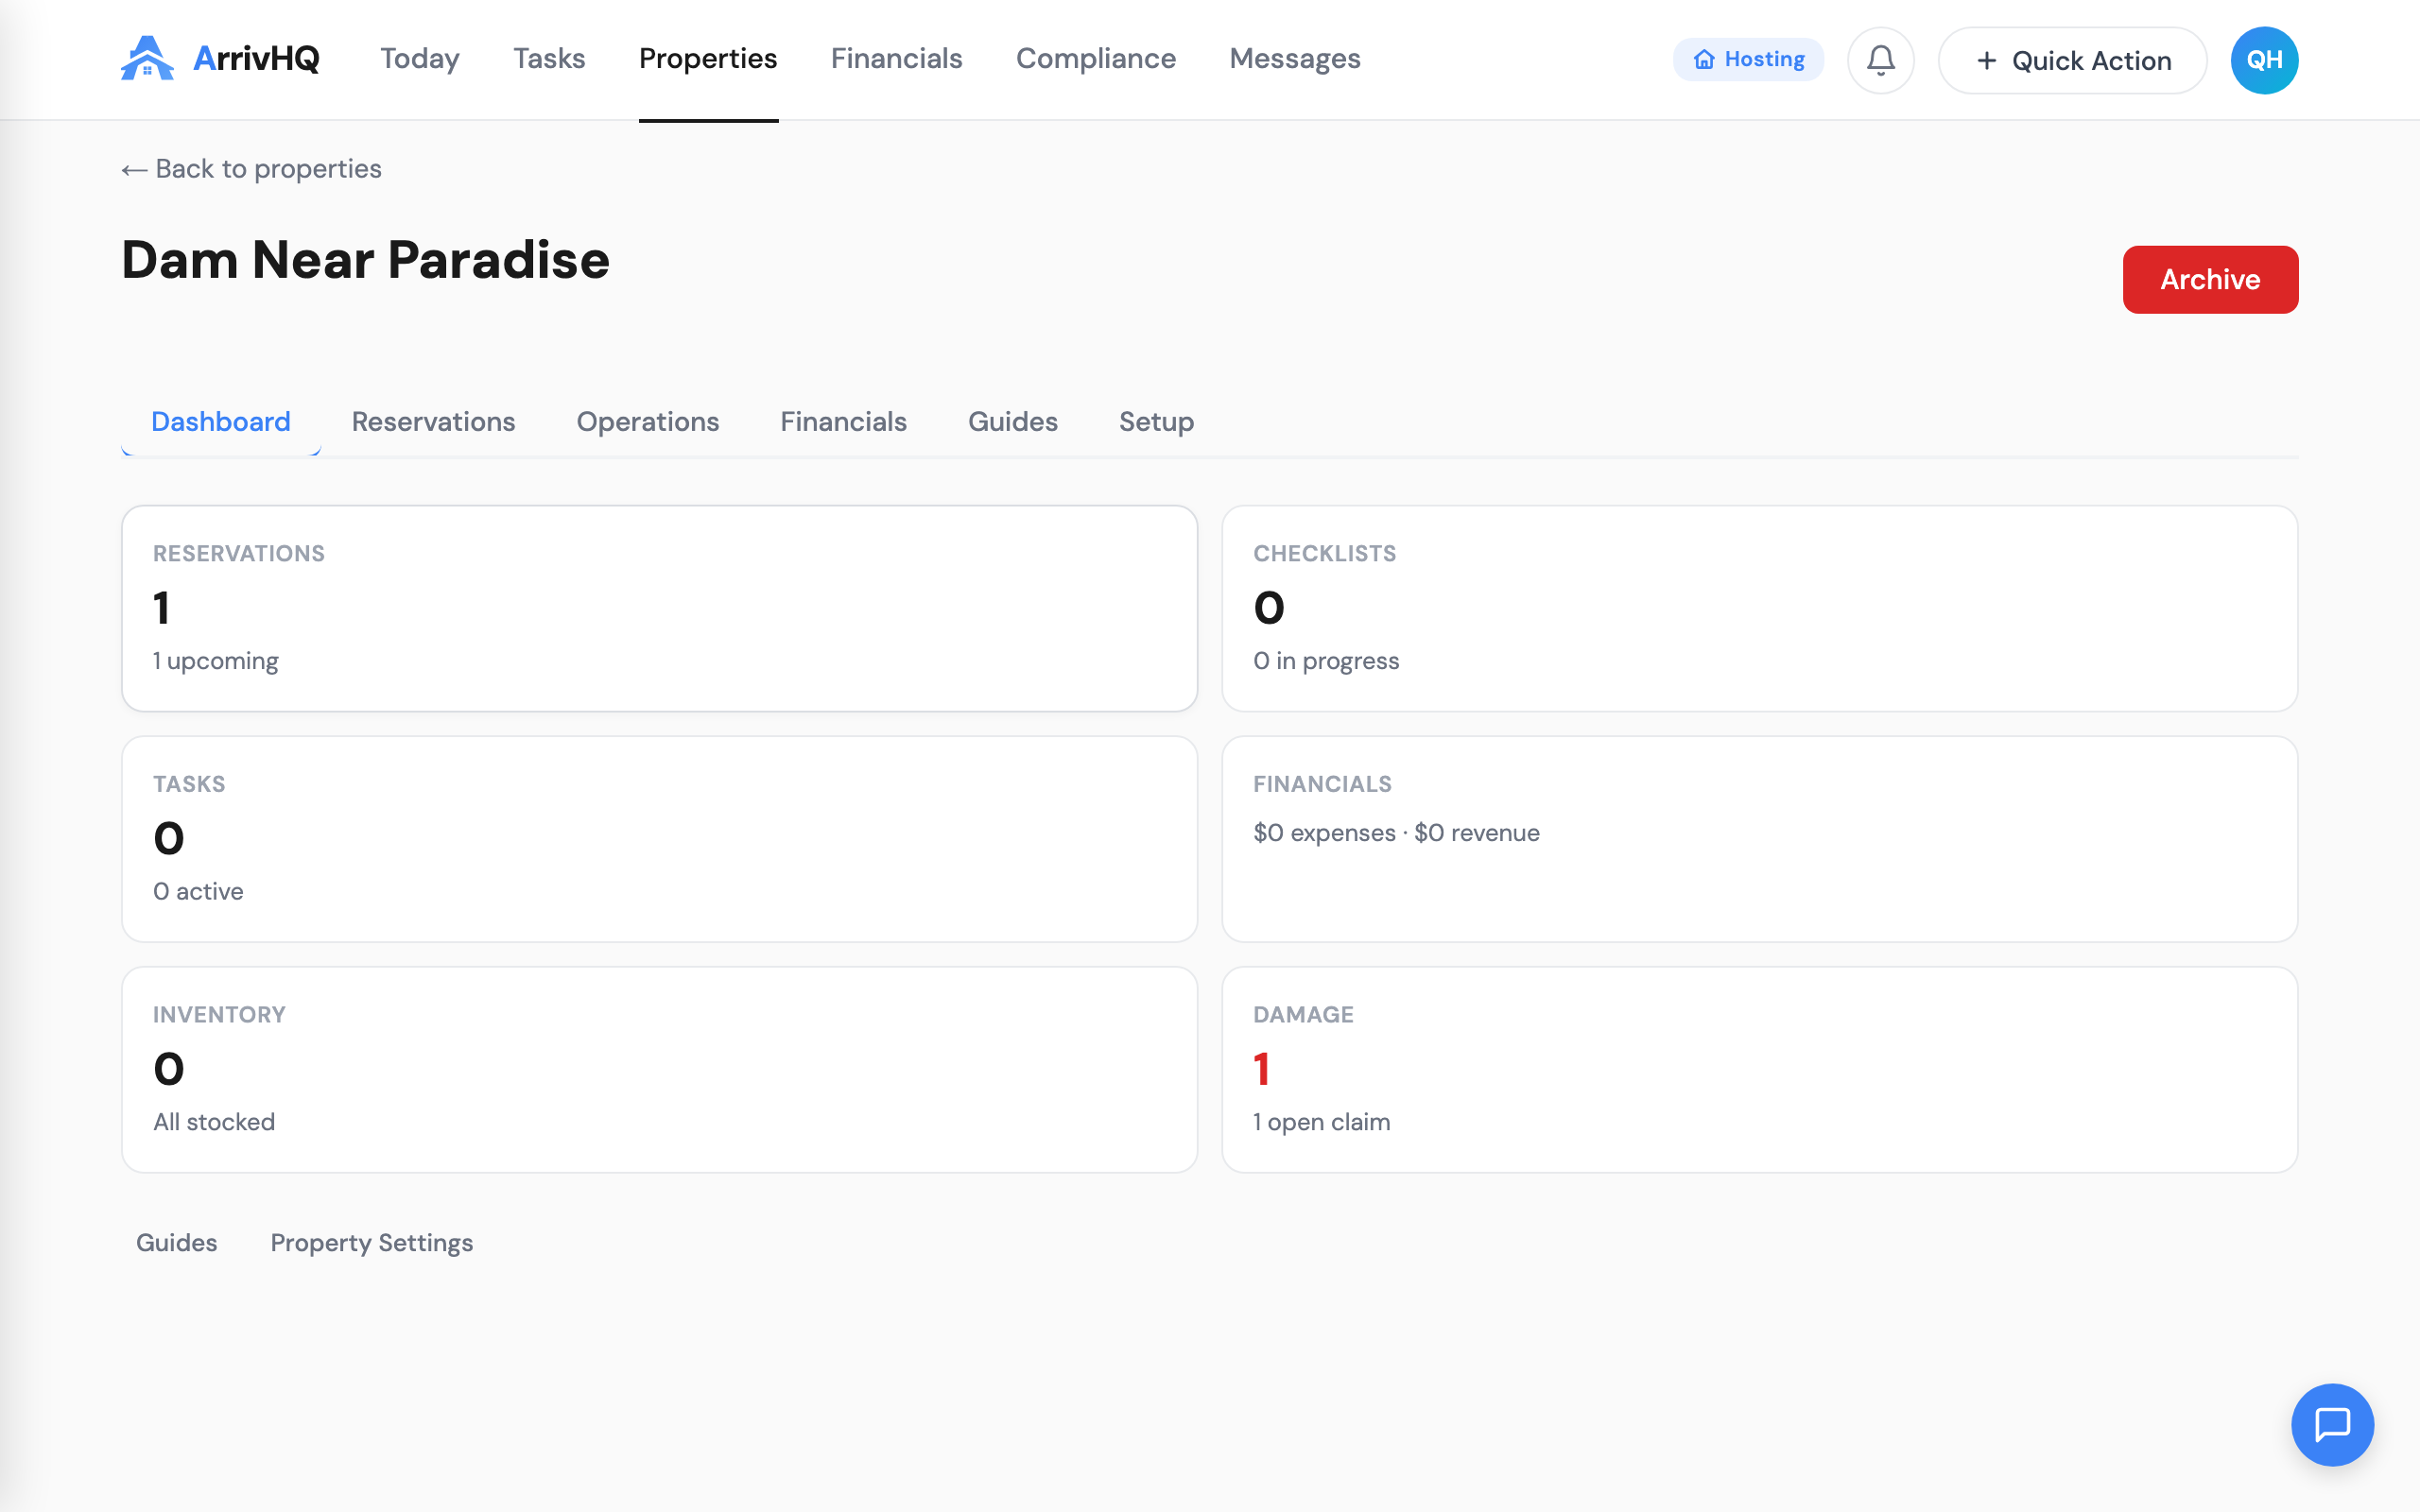
If you stop renting a unit — seasonally or permanently — you can archive the property instead of deleting it. Archiving removes the property from active use without losing any data. No new expenses, revenue entries, work logs, or reservations can be created. Guests lose access to the guest portal. But all existing data is preserved in read-only mode, which matters for tax filing and compliance.
Archived properties do not count toward your plan's active property limit. You can unarchive at any time, as long as you have an available slot under your current plan.
Plan limits
Your plan determines how many active properties you can have:
- Comply ($19/mo) — 1 active property.
- Host ($34/mo) — 1 active property.
- Portfolio ($49/mo) — 2 active properties.
- Property Pack ($29/mo, Portfolio only) — each pack adds 2 more active properties.
If you hit the limit, ArrivHQ blocks creation until you upgrade, add a Property Pack, or archive an existing property. Archived properties do not count toward the limit. If you downgrade and end up over the new limit, your existing properties stay active — you just cannot create or unarchive additional properties until you are back within the limit.
For the complete reference, see the Properties documentation.