Every dollar you spend on your rental property is a potential deduction on Schedule E. The catch is that "potential" only becomes "actual" when you have organized records to back it up. A pile of receipts in a drawer does not hold up well during an audit. A timestamped, categorized expense log with attached receipt images does.
ArrivHQ gives you two ways to log expenses: manual entry and AI receipt scanning. Both produce the same result — a structured, property-linked record that maps to IRS categories. The difference is how fast you get there.
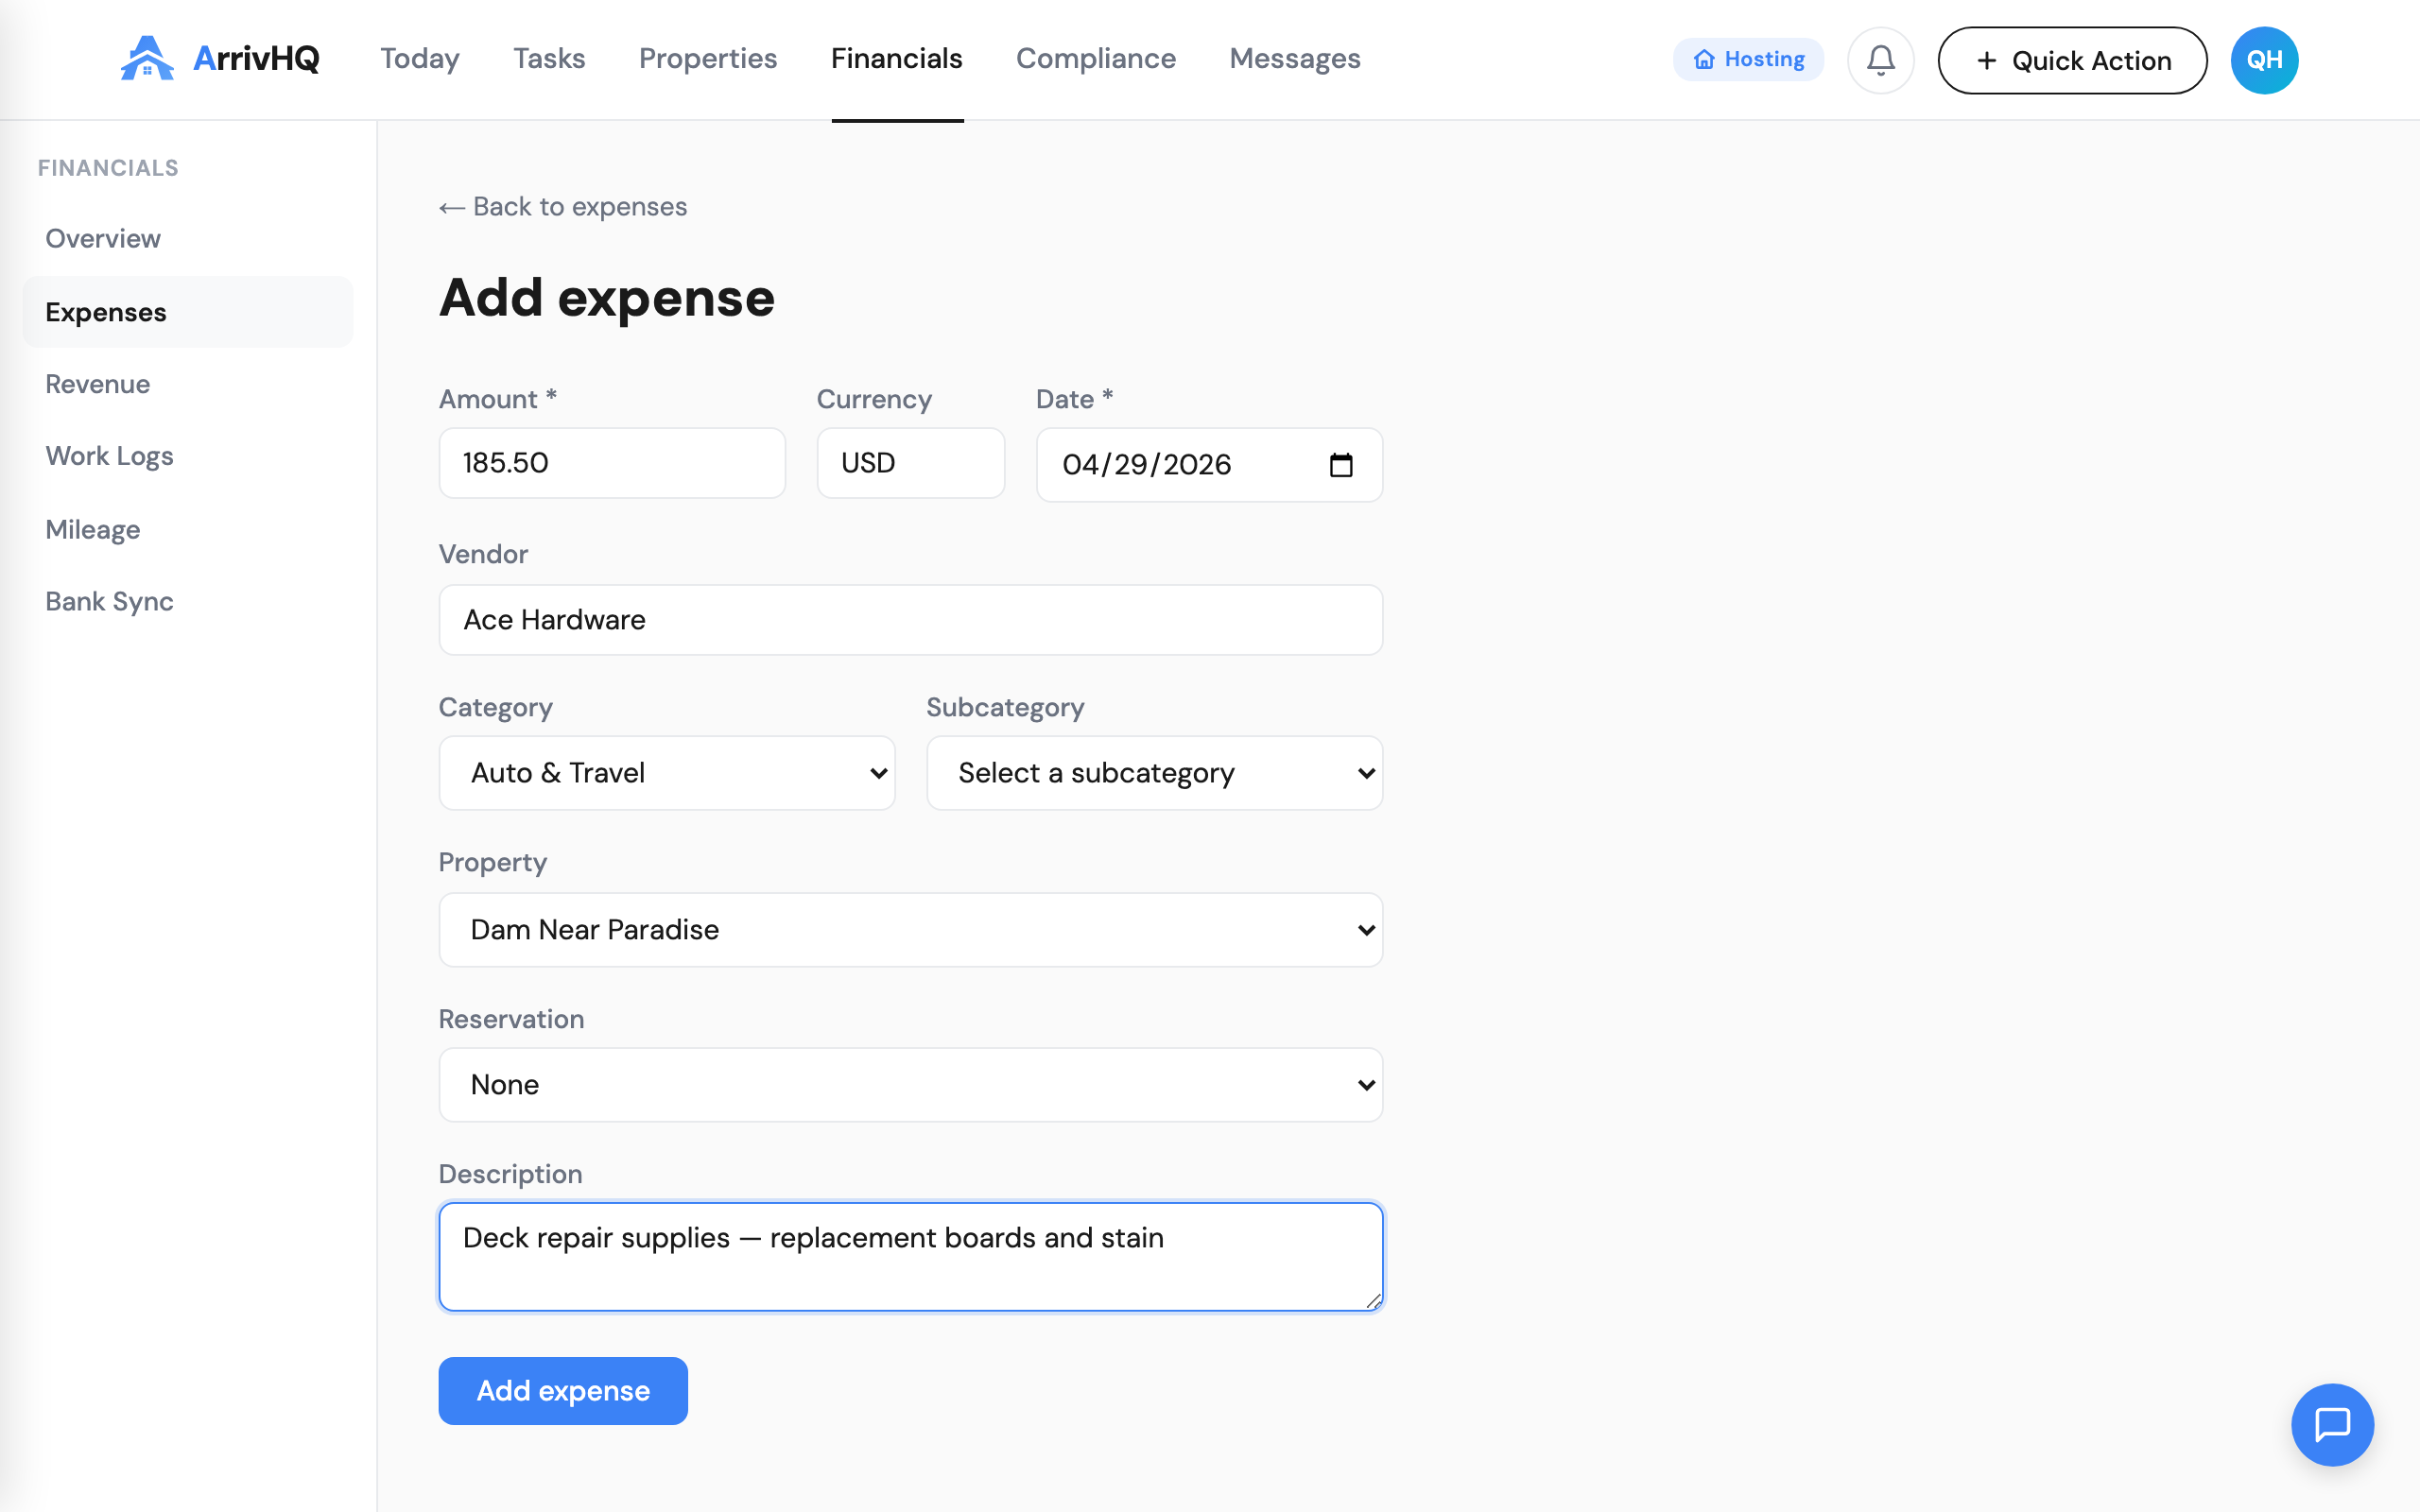
Adding expenses manually
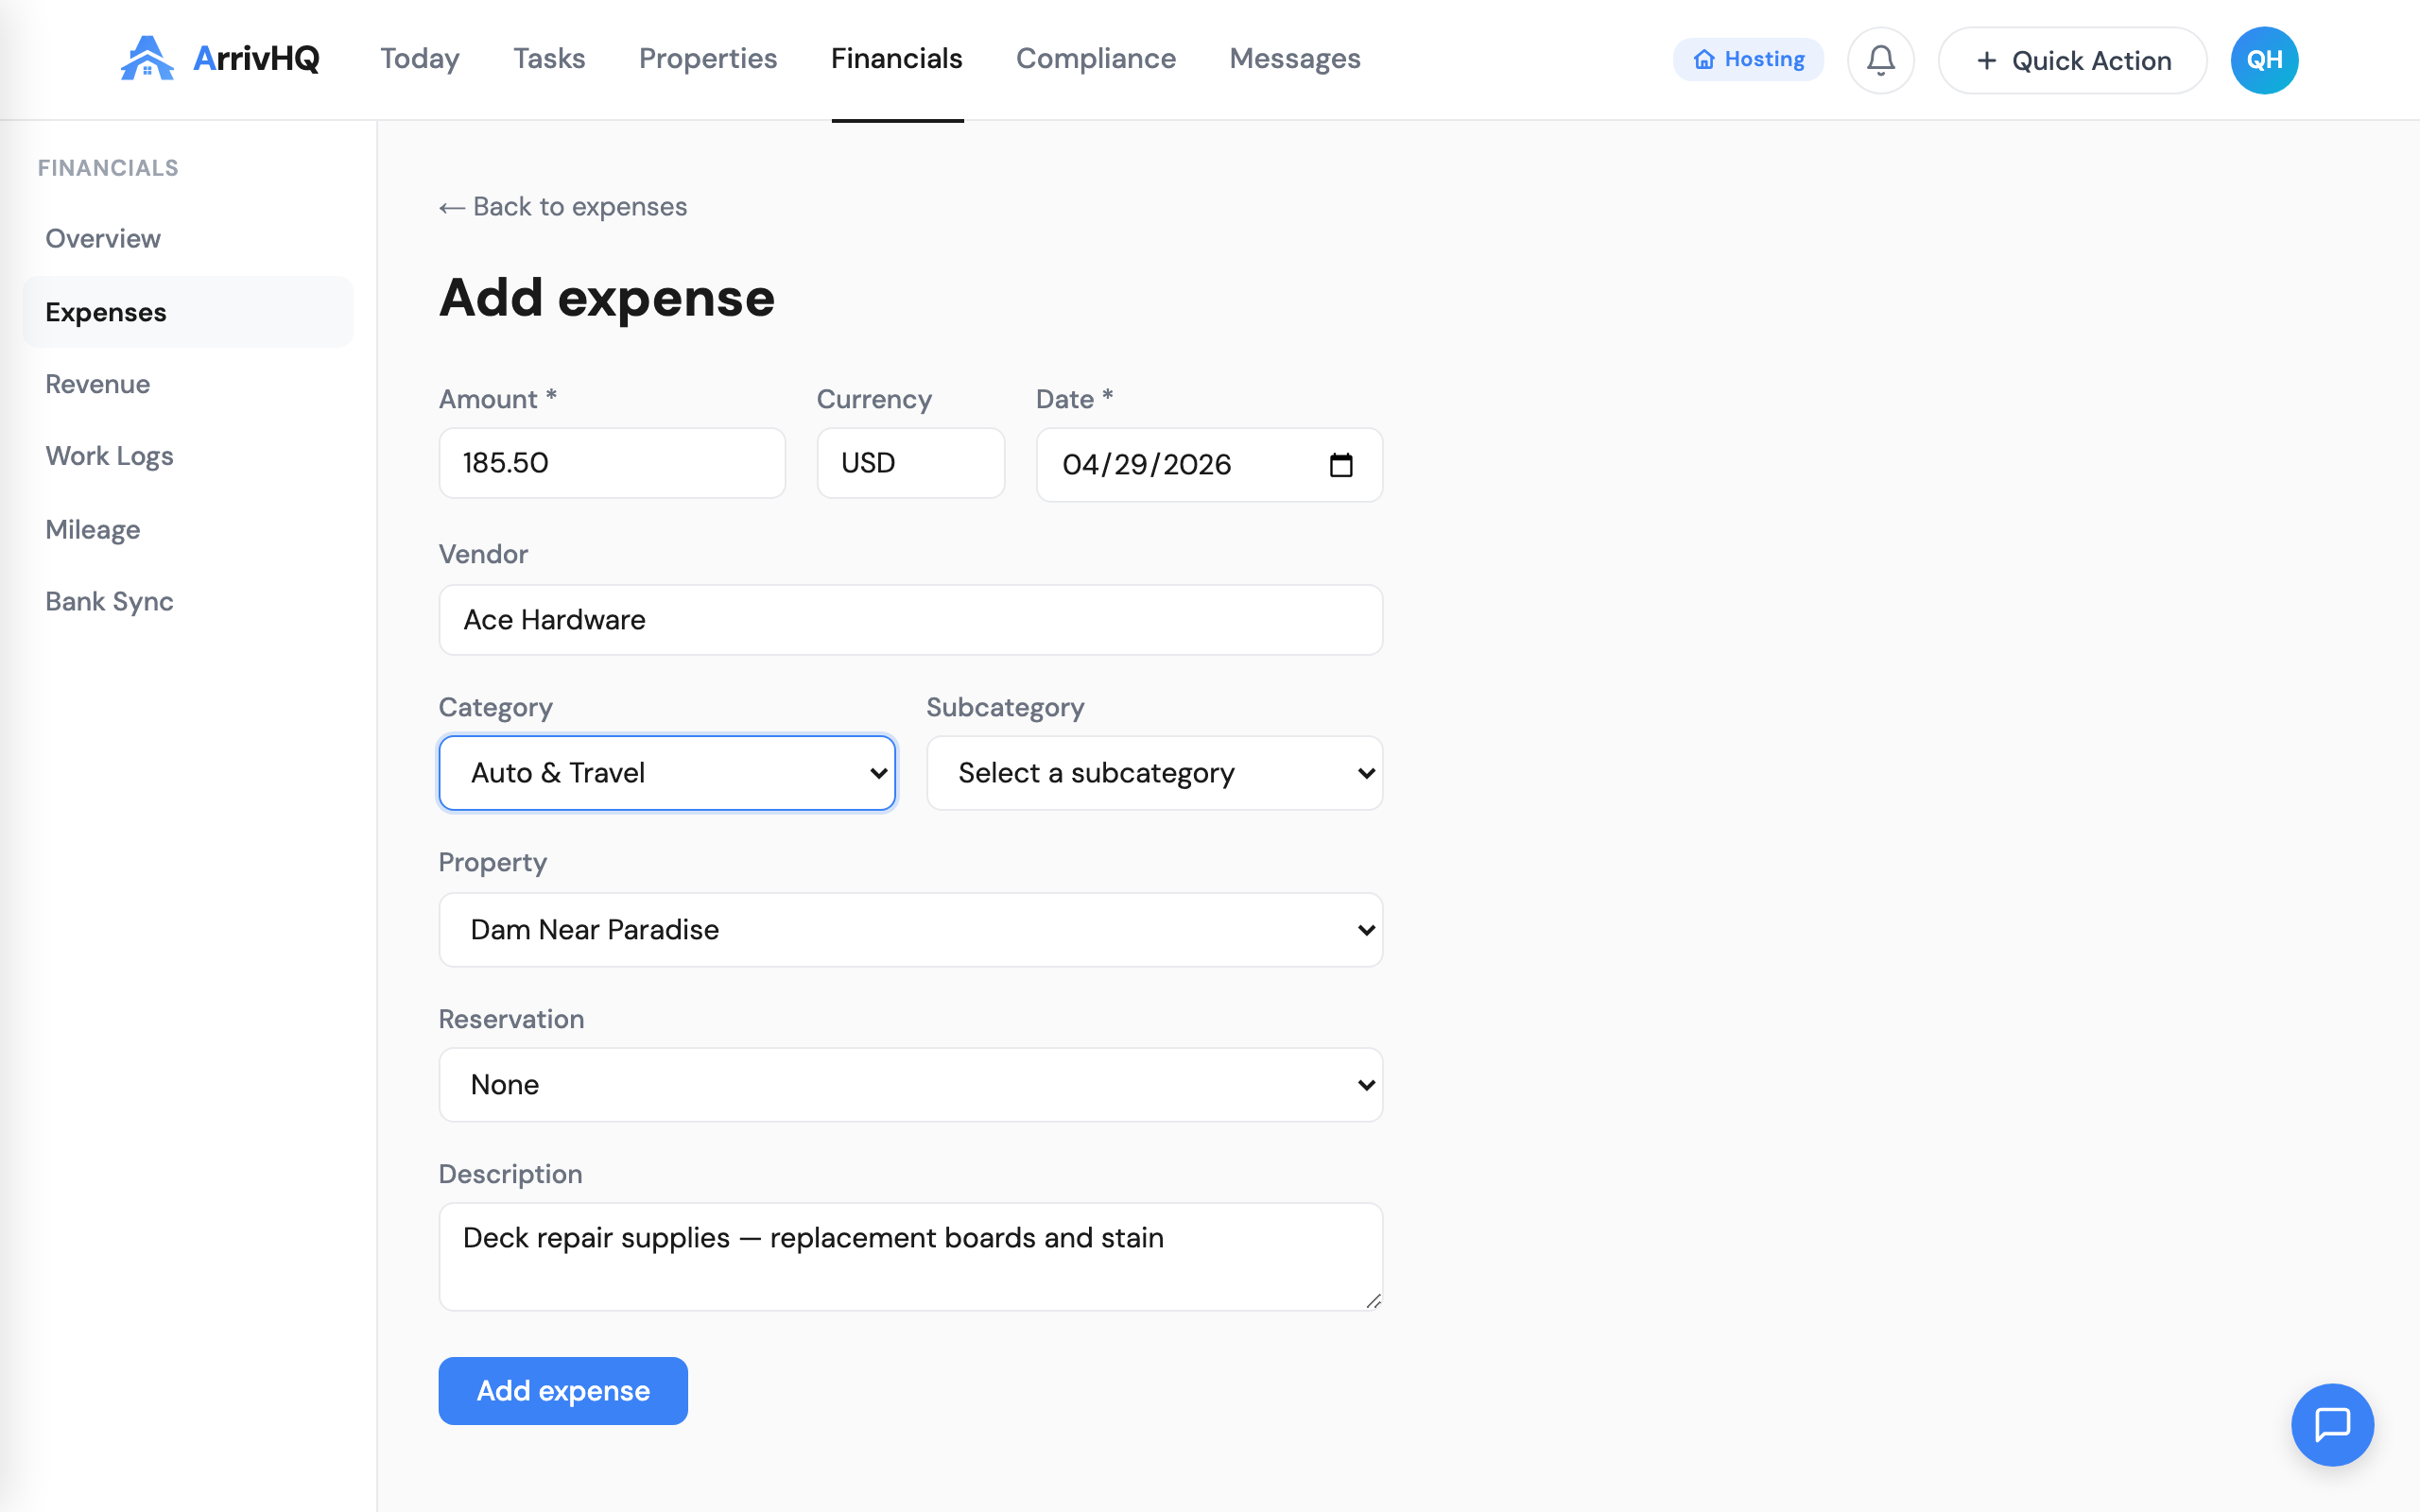
The manual path is straightforward. Navigate to Financials > Expenses and click Add expense. The only required fields are amount and date. Everything else — vendor, category, property, reservation, description — is optional but strongly recommended for compliance.

The vendor field offers autocomplete suggestions based on names you have used before, which keeps your records consistent over time. If you always buy cleaning supplies from the same store, you type the first few letters and select the match.
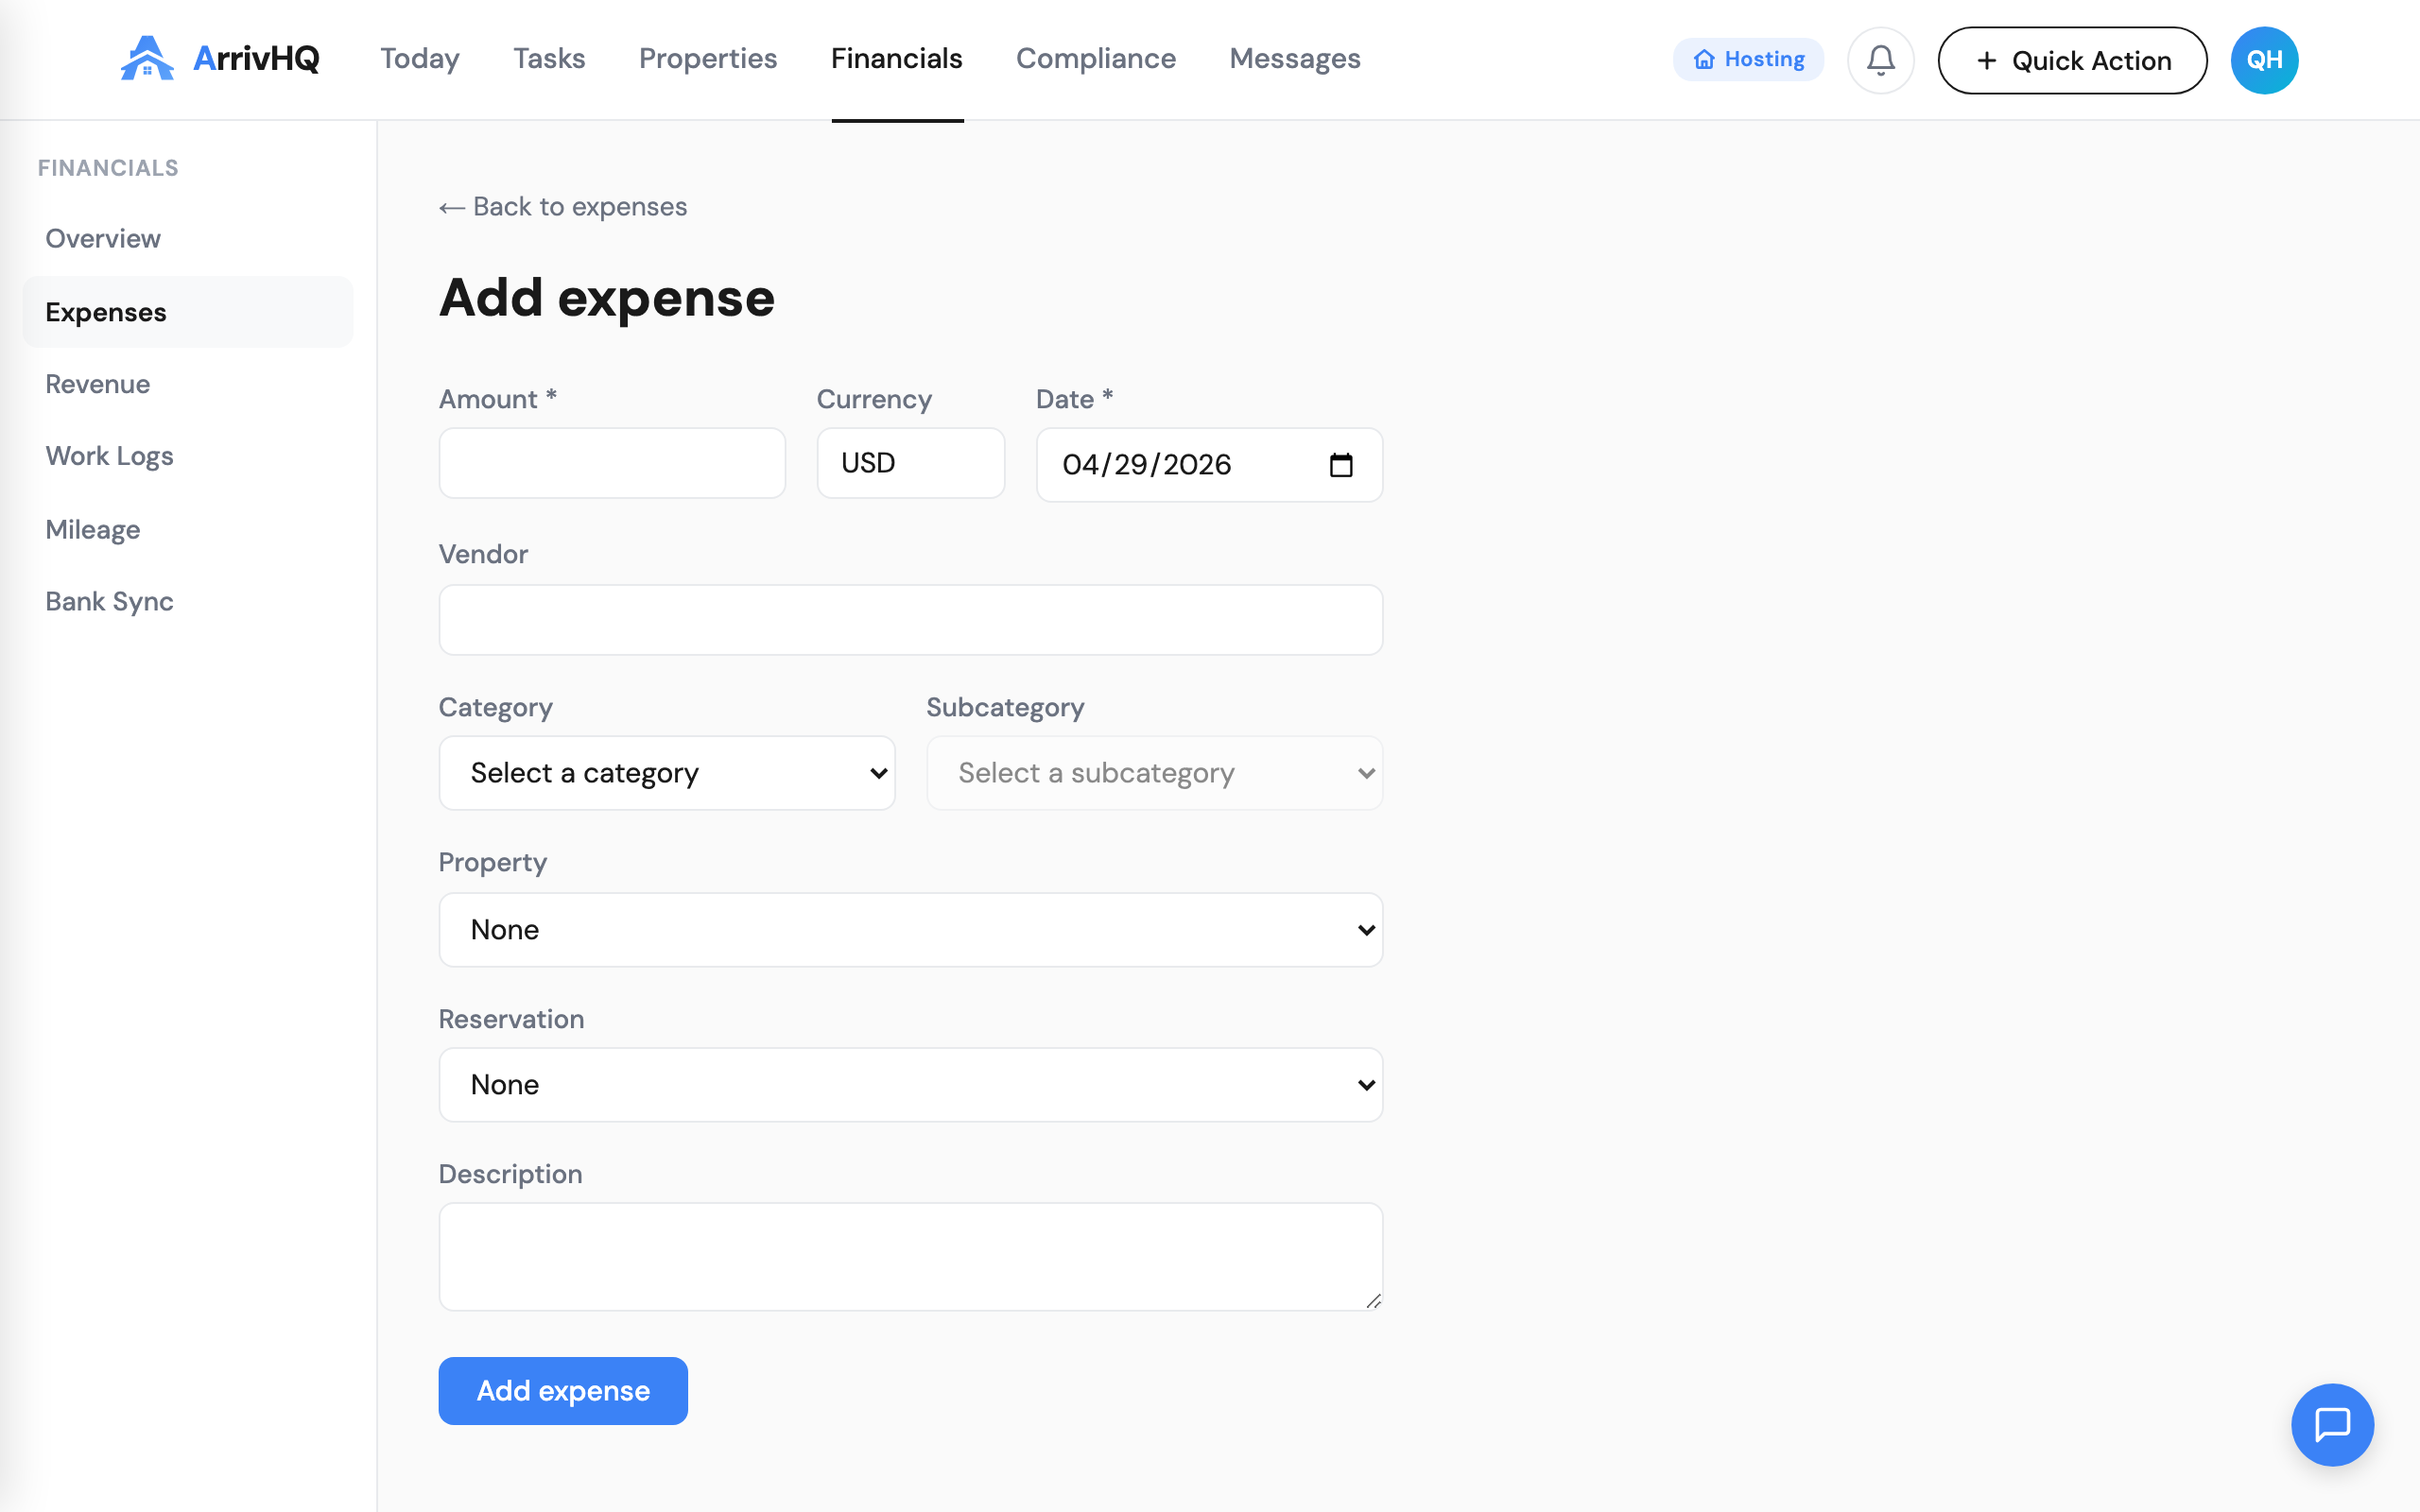
When you select a property, the reservation dropdown filters to show only reservations for that property. This is useful for tracking per-stay costs like cleaning fees or guest damage repairs — you can tie the expense directly to the guest stay that caused it.
AI receipt scanning
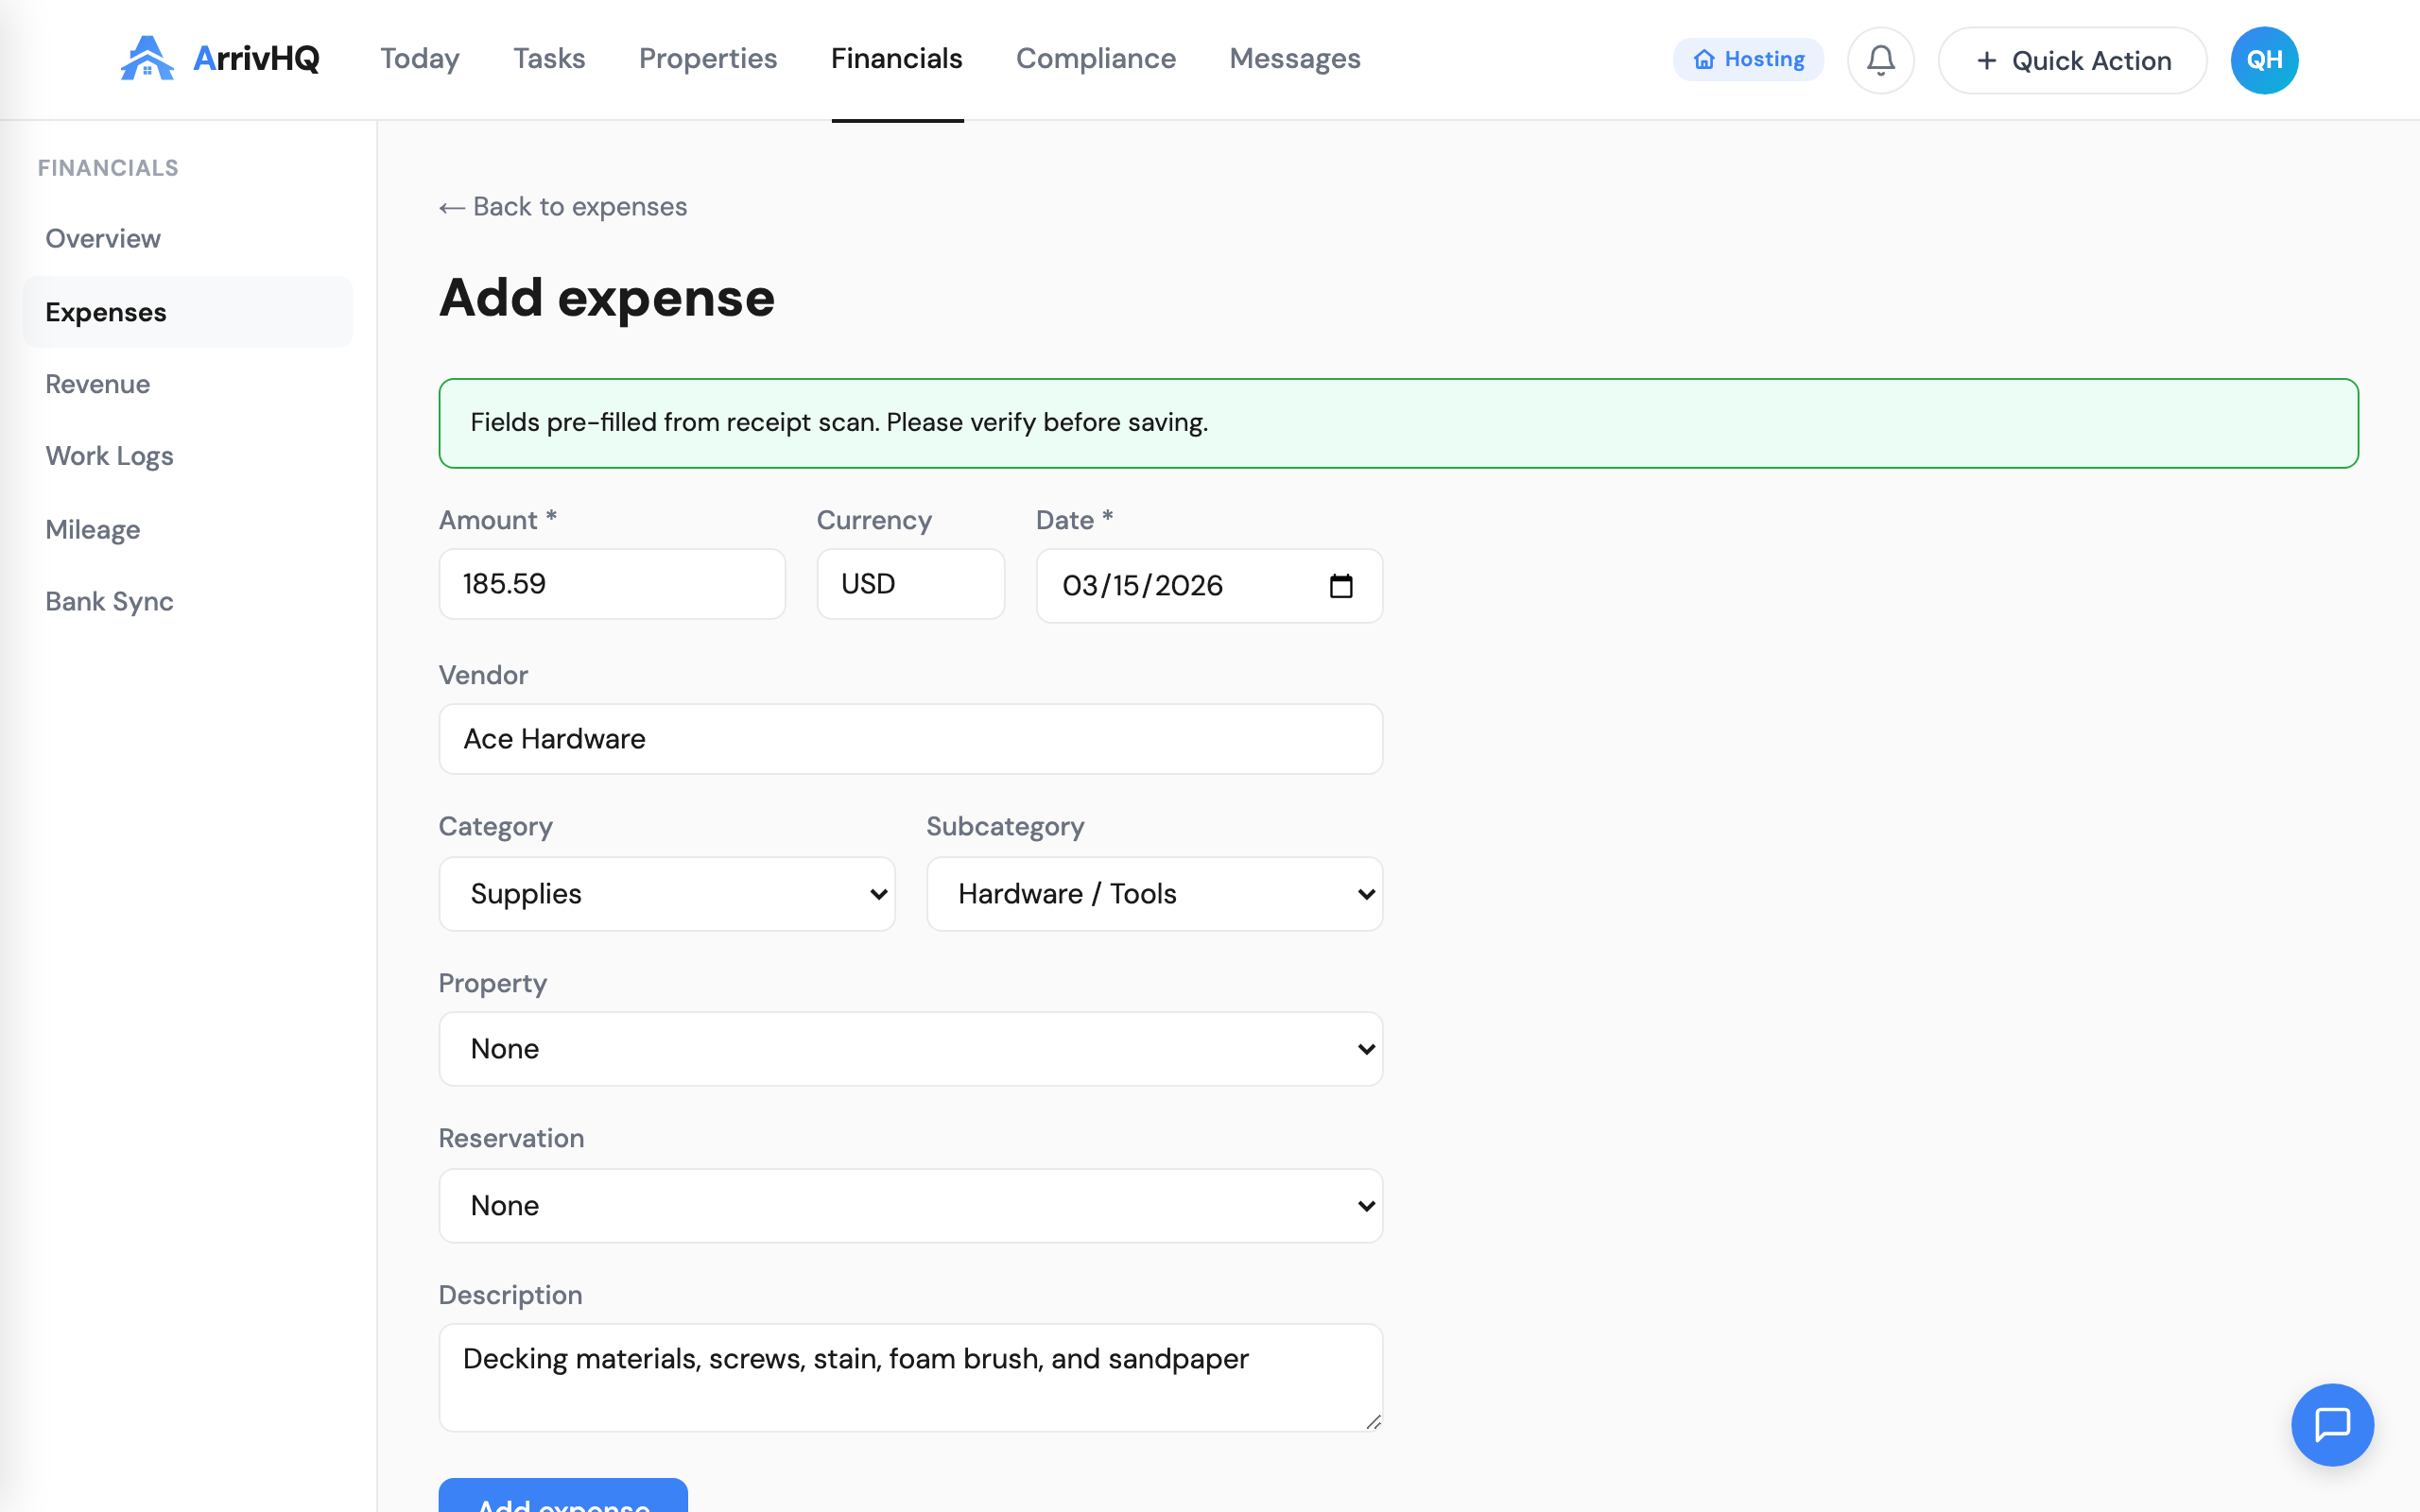
On Host and Portfolio plans, you can skip the manual form and let AI do the data entry. When you click Add expense, you land on an upload screen where you can drag and drop an image, choose a file, take a photo with your device camera, or paste from your clipboard.
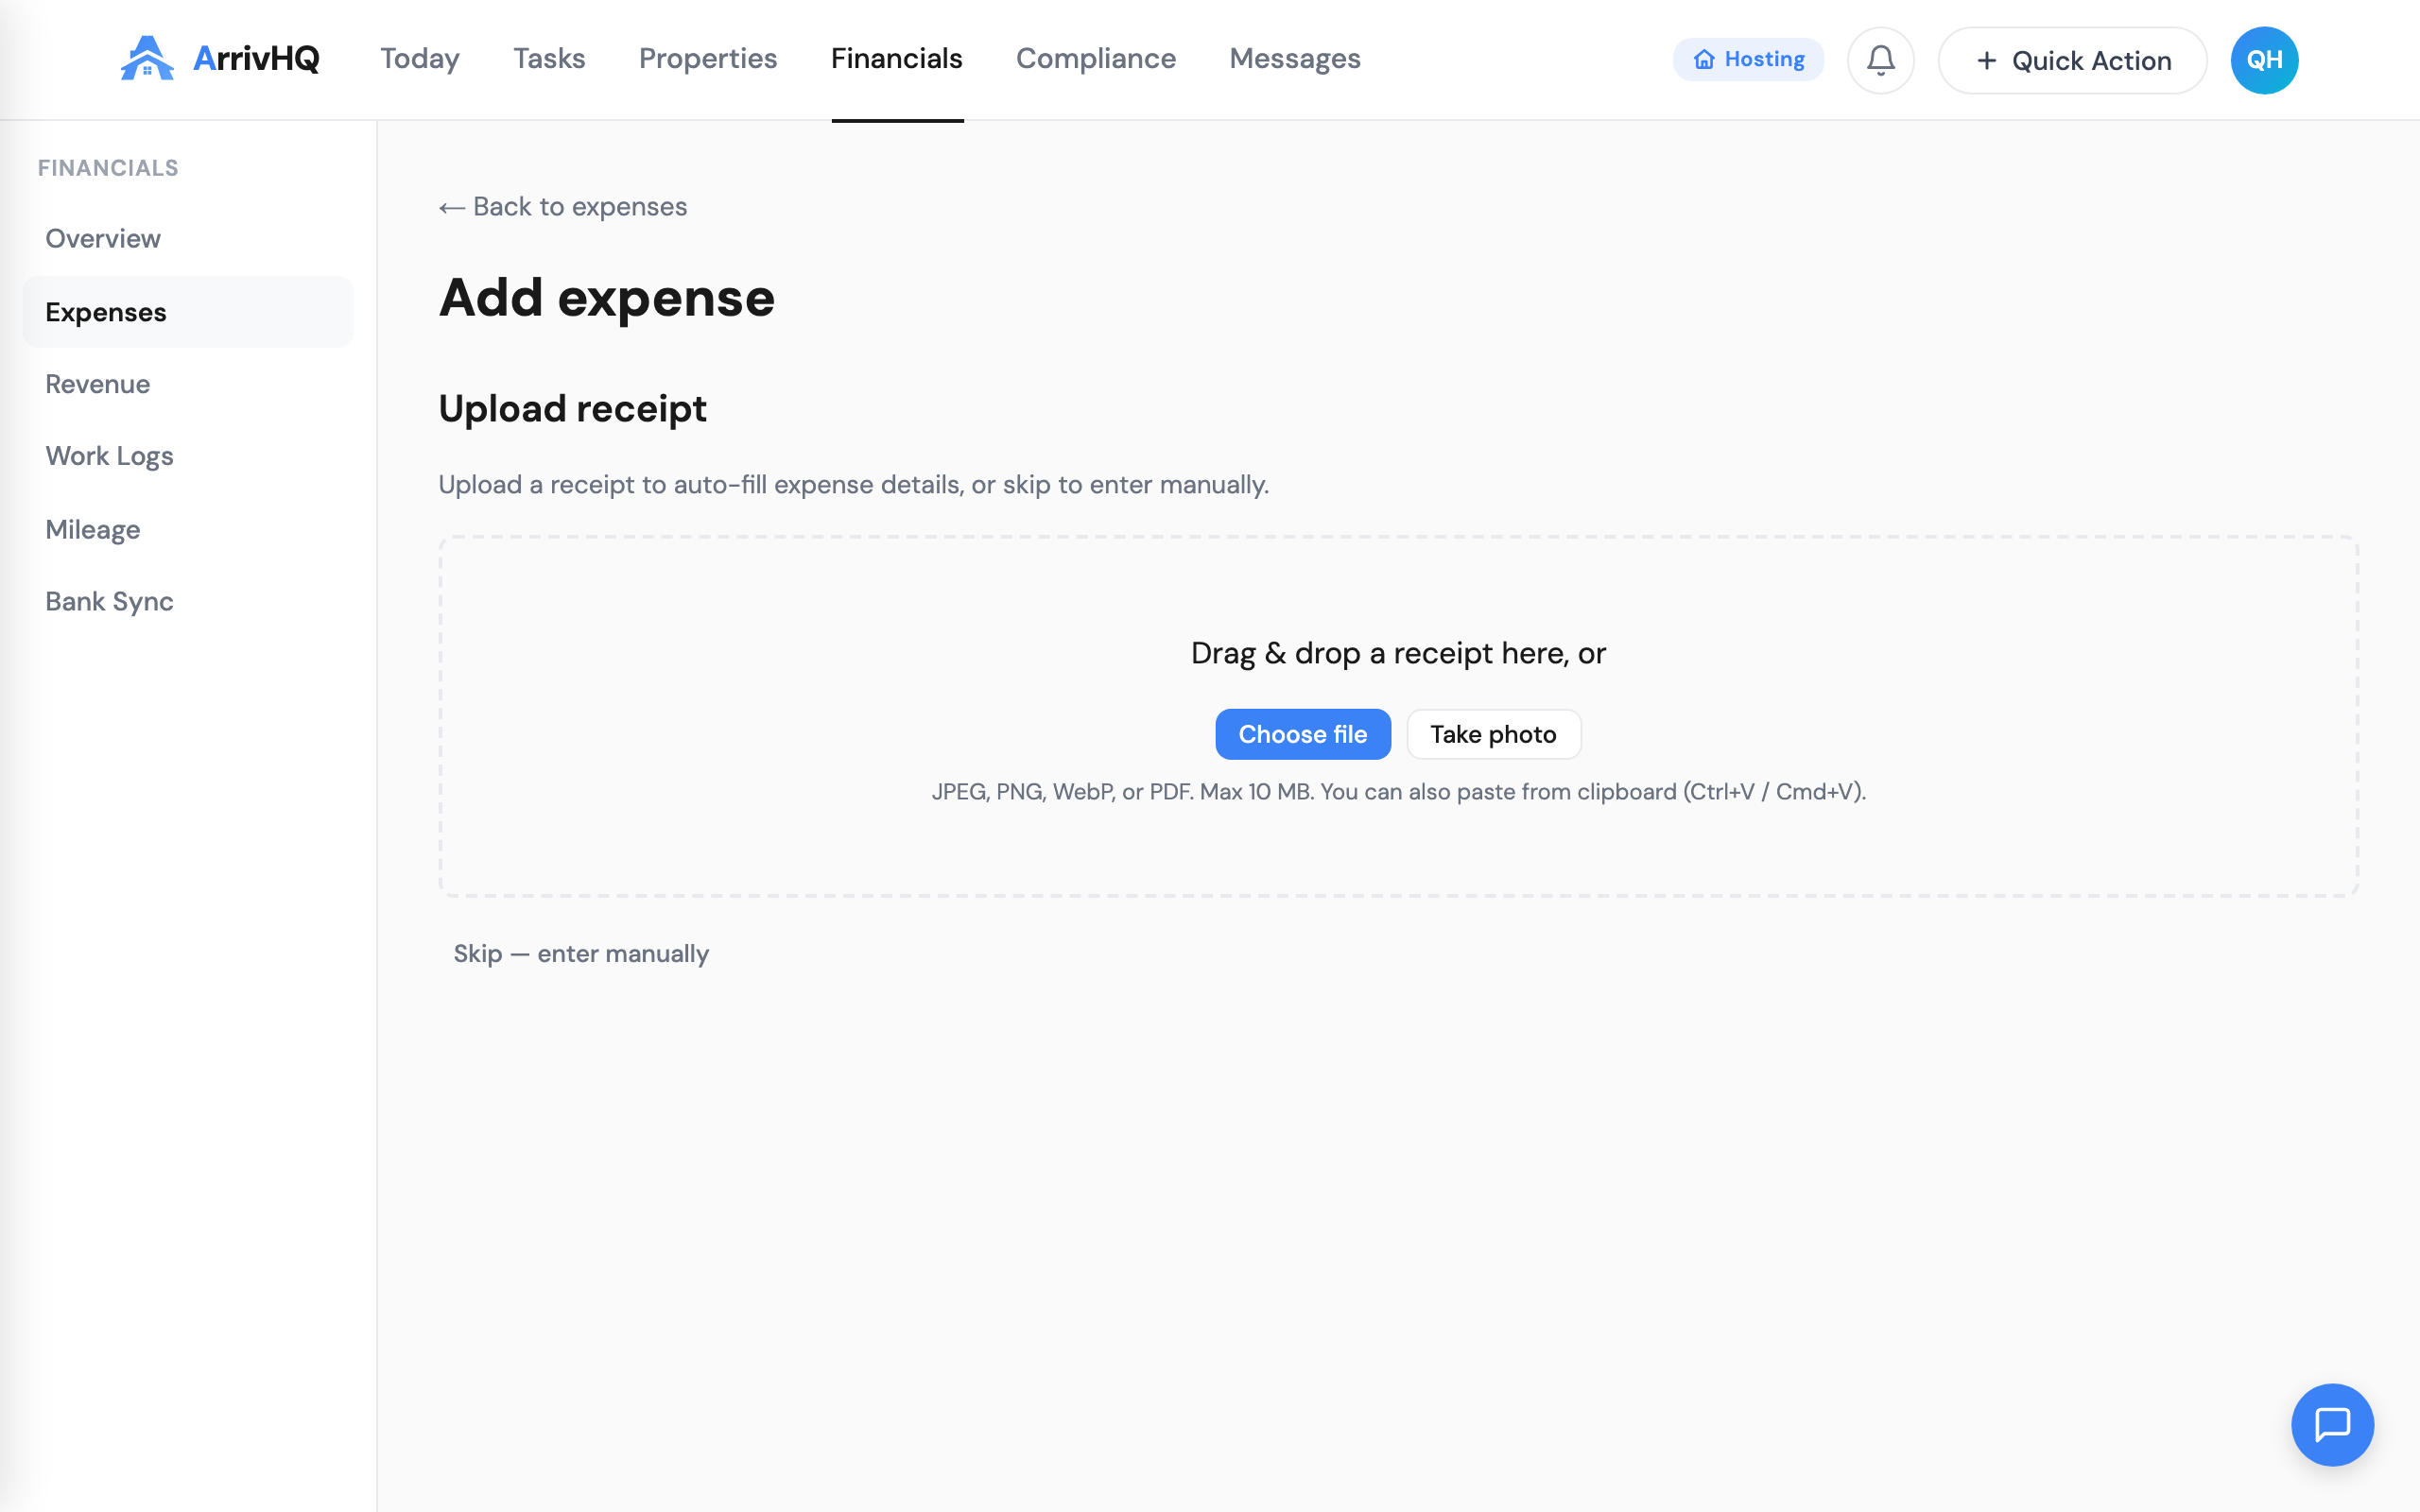
Here is an example of a receipt you might upload — a hardware store purchase for deck repair supplies:
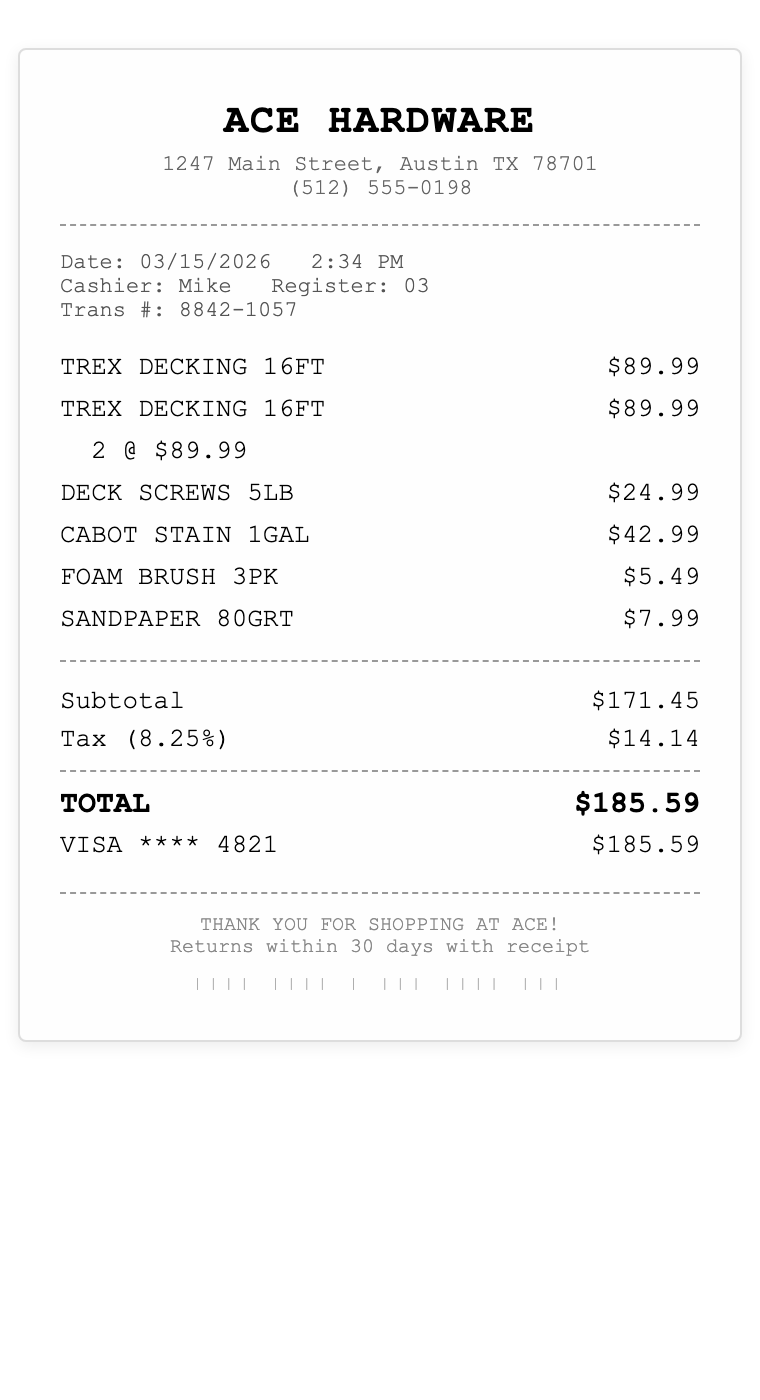
ArrivHQ compresses the image and sends it to our AI for analysis. The AI reads the receipt and extracts the vendor name, total amount, date, category, and a brief description. Fields that the AI identifies with high confidence are pre-filled in the expense form. A green banner confirms the extraction, or a yellow warning appears if the AI could not read everything.
The key step is reviewing what the AI extracted before you save. AI is good at reading printed receipts in good lighting, but handwritten receipts, faded text, or unusual layouts may produce partial results. Always check the numbers. Once you are satisfied, click Add expense — the receipt image is automatically attached to the record.
If you prefer to enter details yourself on any given expense, click Skip — enter manually to go straight to the form. You are never locked into one method.
Categories that map to Schedule E
ArrivHQ provides 15 expense categories aligned with the line items on IRS Schedule E. When you categorize an expense as Repairs, it maps to Line 14. Utilities maps to Line 17. Insurance maps to Line 9. This alignment means your records are already organized the way your CPA needs them at tax time.
The full category list includes Advertising, Auto & Travel, Cleaning & Maintenance, Commissions, Insurance, Legal & Professional Services, Management Fees, Mortgage Interest, Repairs, Supplies, Taxes, Utilities, Furnishing & Equipment, Depreciation, and Other. Each category has subcategories for finer classification — Repairs breaks down into Plumbing, Electrical, HVAC, Appliance, Structural, and Painting.
You do not have to use categories. The field is optional. But skipping it means more work for your CPA and weaker documentation if questions arise later.
Attaching receipts
The IRS expects receipts for expenses over $75 and for all lodging expenses regardless of amount. ArrivHQ lets you upload receipt images (JPEG, PNG, WebP) and PDFs directly to each expense record. If you used AI scanning, the receipt is attached automatically. You can add more attachments afterward from the expense detail page.
Each file must be under 6 MB, and images are compressed client-side before upload to stay well within that limit. Your monthly upload quota depends on your plan — uploads are counted individually regardless of file size.
From the attachment list, you can view any file in a new tab, download it, or delete it permanently. Signed URLs ensure that only authenticated users in your organization can access the files.
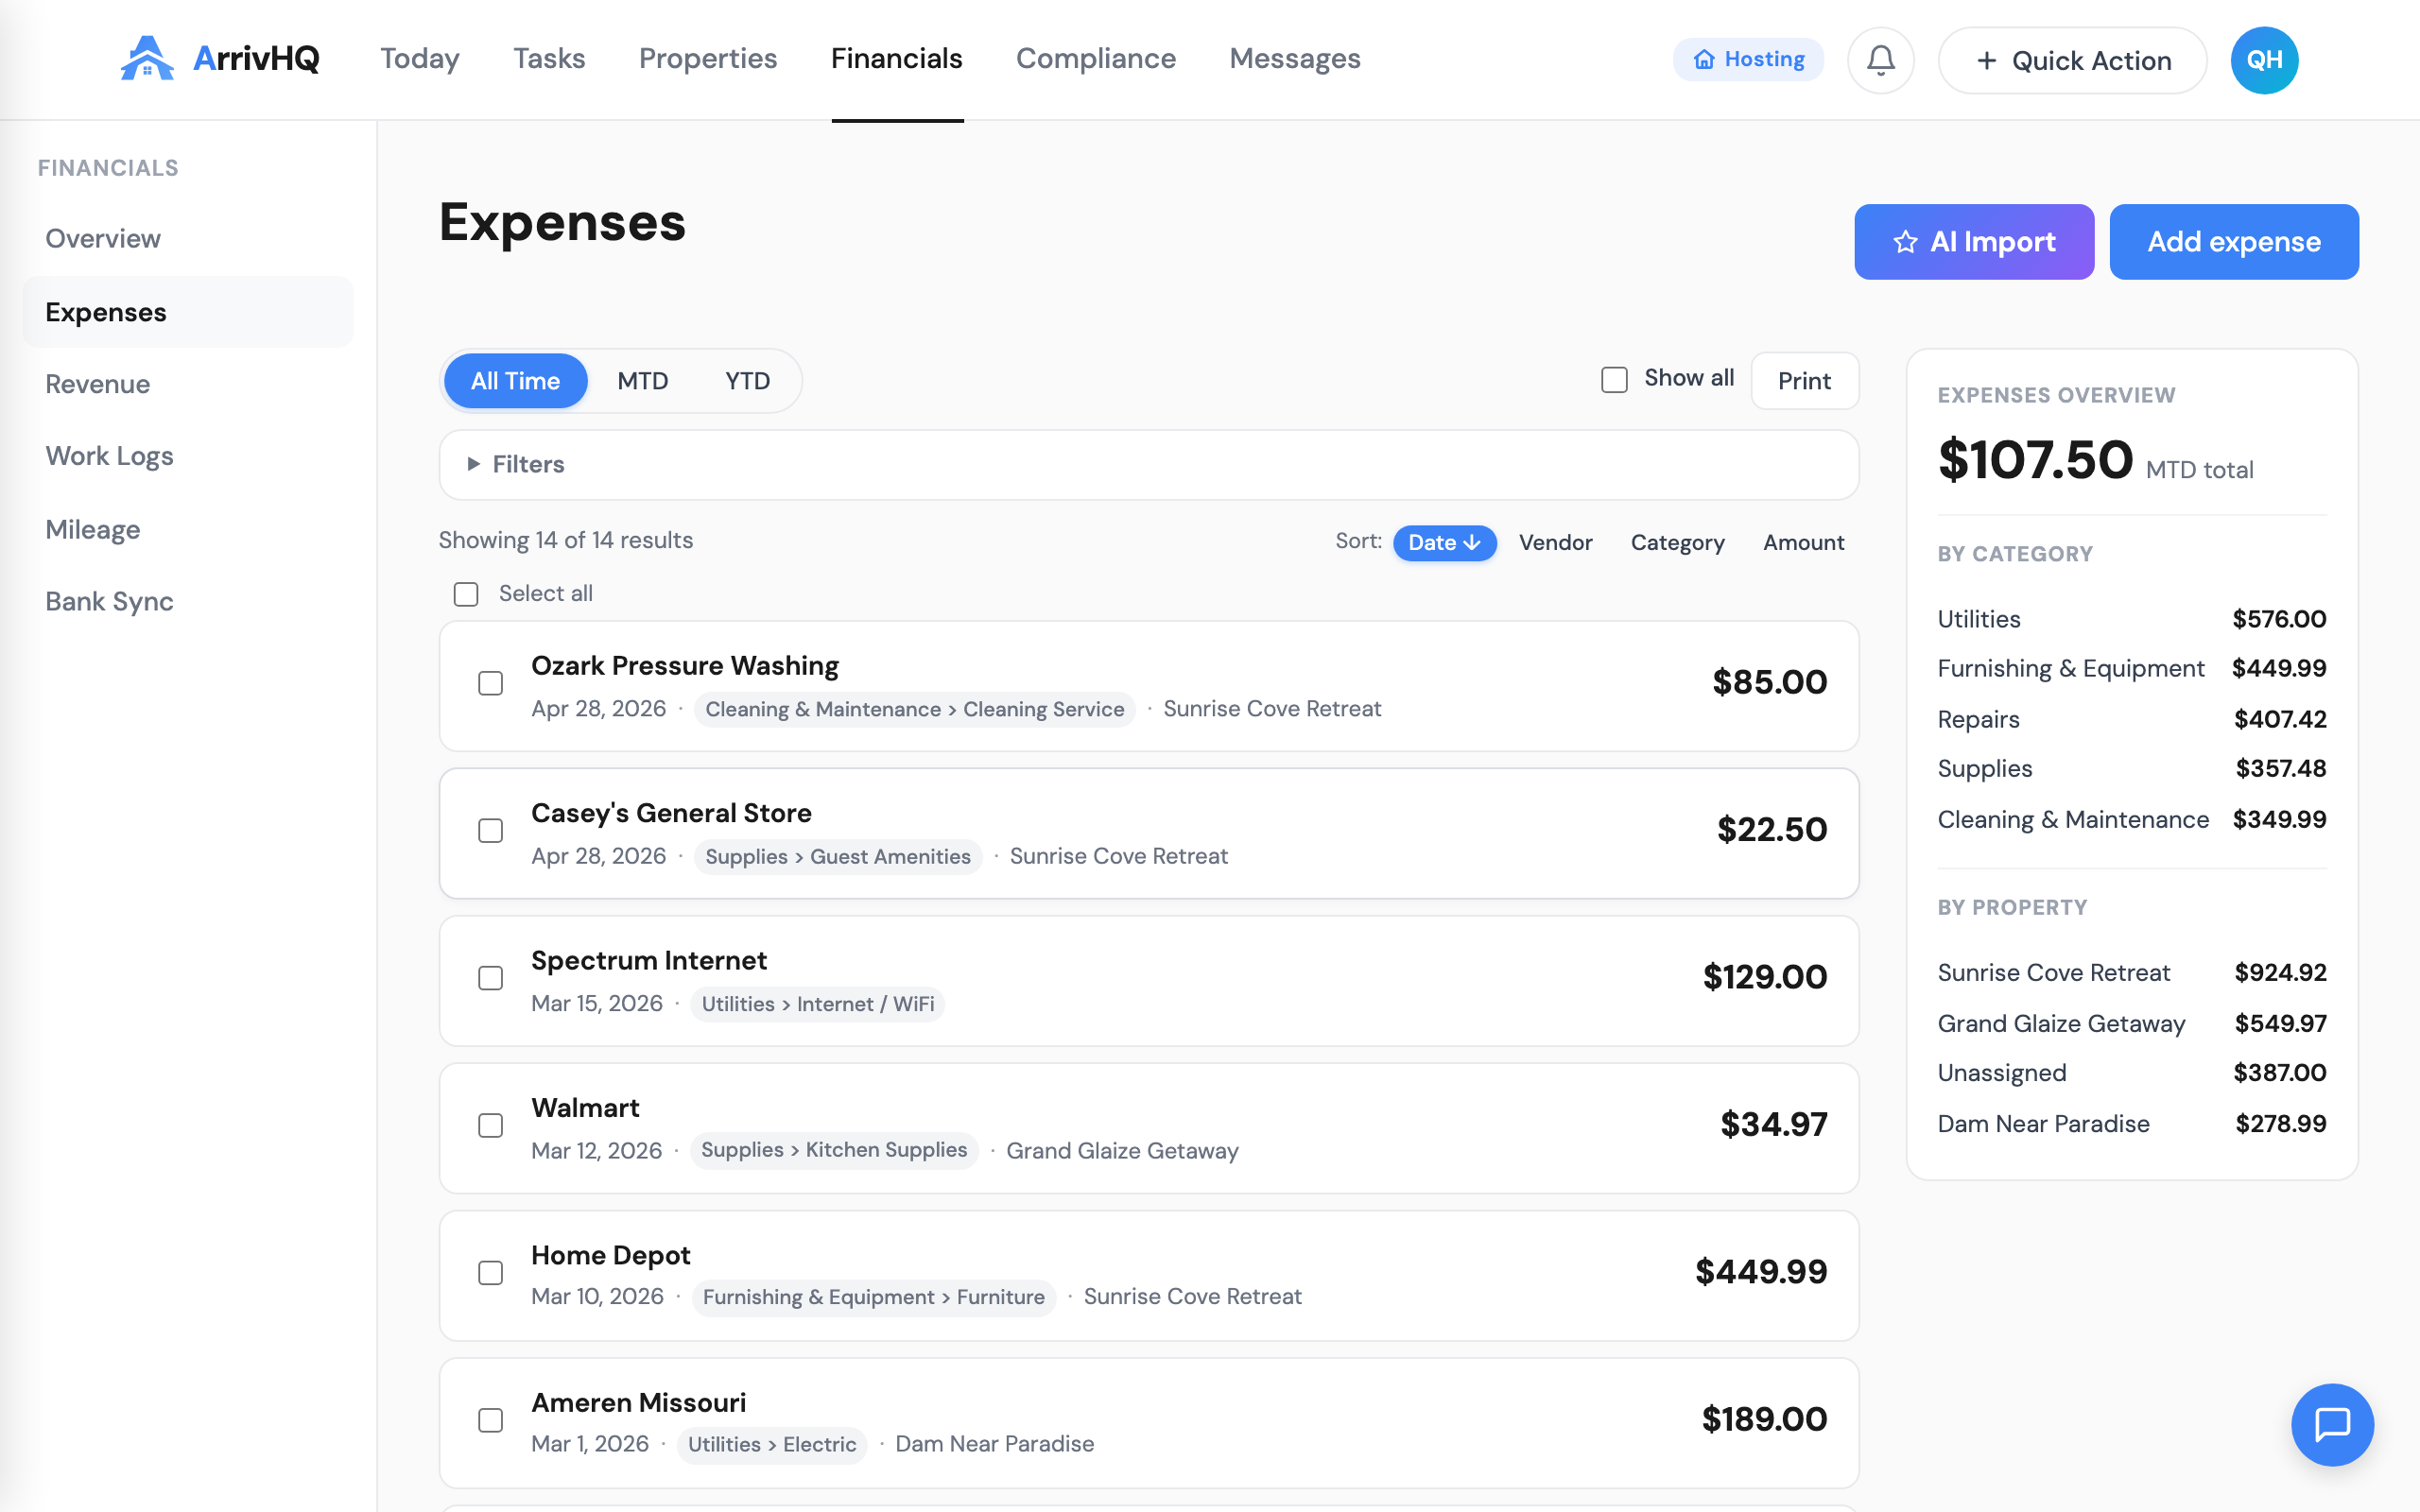
Filtering and finding what you need
As your expense list grows, the filtering tools become essential. Date presets (All Time, MTD, YTD) handle the most common views. You can also set a custom date range, filter by property, filter by category, or filter by receipt status to find expenses that still need documentation.
The "Needs review" filter is particularly useful if you use AI scanning. When the AI could not extract all fields with confidence, the expense is flagged for review. This filter surfaces those flagged entries so you can verify them before they sit unattended.
Search works across vendor name and description fields. Combined with the category and property filters, you can answer questions like "How much did I spend on plumbing repairs at the lake house this year?" in a few clicks.

Building the habit
The most important thing about expense tracking is consistency. Logging expenses as they happen — the same day you pay, or the same day you get the receipt — creates contemporaneous records that carry real weight. Reconstructing a year of expenses in March is harder, less accurate, and less credible if challenged.
AI receipt scanning lowers the friction. Snap a photo of the receipt at the hardware store, upload it, review the pre-filled data, and save. The entire process takes under a minute. Over the course of a year, those one-minute entries add up to a comprehensive, audit-ready financial record.
For the complete reference, see the Expenses documentation.