Guest checklists in ArrivHQ are separate from the operational checklists you use internally for cleaning and turnovers. These are lists you share with guests — house rules, check-in instructions, safety information, or any other document you want them to review and acknowledge before or during their stay. You create them, assign them, and then track whether each guest has actually read and completed them.
This matters because "I told them the rules" is a weak position. "They acknowledged the rules and signed the waiver" is a much stronger one.
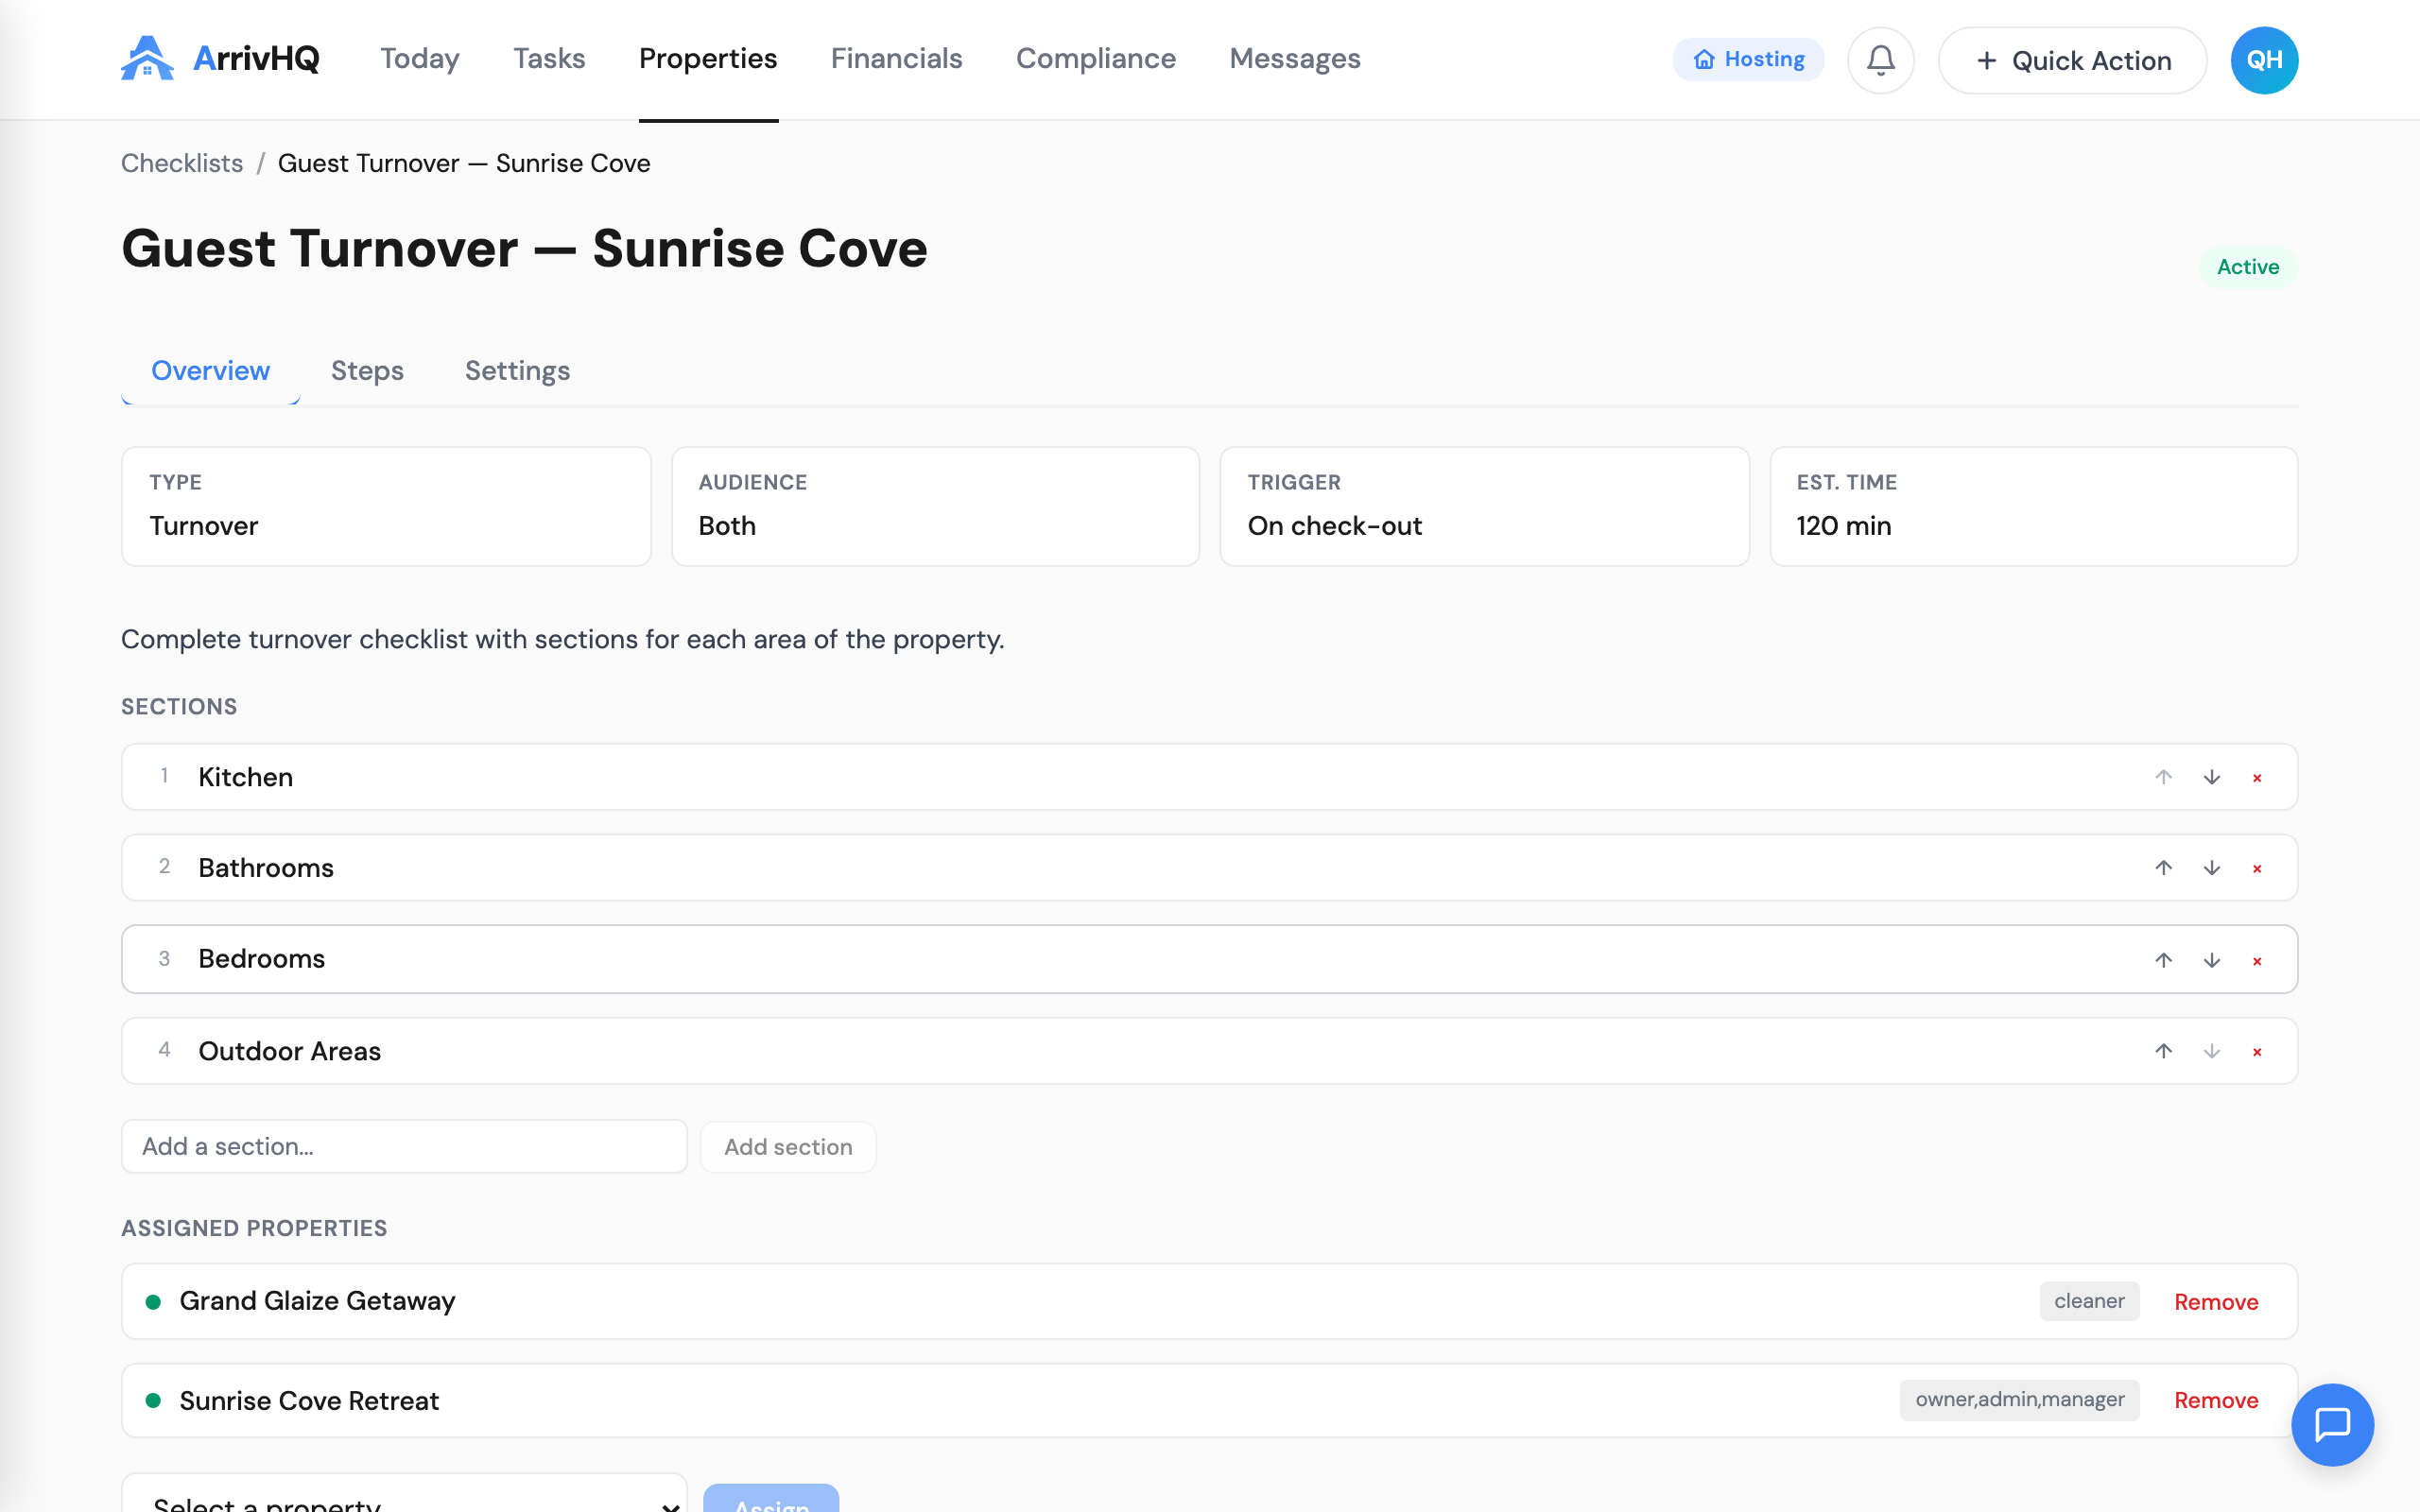
Guest checklists vs. operational checklists
Operational checklists are for your team — cleaning steps, turnover procedures, maintenance routines. Guest checklists are for the people staying at your property. They appear in the guest's ArrivHQ dashboard, and you can monitor completion status from yours. The two systems are managed in separate sections and serve completely different purposes.
Creating a guest checklist
Navigate to the Guest Checklists section of your property and click Create Checklist. Give it a name — something like "House Rules," "Check-In Instructions," or "Pool Safety" — and start adding items.
Each item has a type:
- Acknowledgment — the guest must check it off to mark it complete. Use this for house rules, safety warnings, or anything you need confirmed.
- Informational — the item is displayed for the guest to read but does not require an action. Use this for helpful tips or reference information.
You can assign the checklist to a specific guest or to all guests at the property. Once published, it appears in the assigned guest's dashboard. You can edit items, reorder them, or add new ones at any time.
Agreement steps: two tiers
When you need more than a checkbox, ArrivHQ offers agreement steps with two tiers of legal formality.
Tier 1 — Acknowledgment
The basic tier for house rules, parking rules, checkout instructions, and similar documents. You add an agreement step to your checklist, select Acknowledgment as the tier, choose a document type (House Rules, Pet Policy, Custom, etc.), and paste your agreement text.
When a guest reaches this step, they scroll through the full text — the consent checkbox stays disabled until they reach the bottom. They check "I have read and understand the above," type their full legal name, and click Accept and Sign. A locked HTML copy is generated and stored.
Tier 2 — E-Signature
The formal tier for rental agreements, liability waivers, damage responsibility documents, and fee authorizations. Tier 2 adds ESIGN Act compliance, section-by-section initials, and a locked PDF with a "SIGNED COPY — DO NOT ALTER" watermark.
The guest goes through three phases:
- ESIGN Disclosure — they read and consent to conduct the transaction electronically, citing the federal ESIGN Act and UETA.
- Review and Initial — they read each section one at a time, scrolling through the content and typing their initials for each section. A progress indicator shows where they are.
- Sign — they review a summary of everything they initialed, type their full legal name, and click Sign and Agree.
After signing, a locked PDF is generated with all section text, initials, the signature block, and a SHA-256 content hash. A confirmation email with the signed PDF is sent to the guest. The signed record is immutable — the agreement content, signed name, IP address, timestamp, and content hash are locked and cannot be modified.
PDF import and AI section extraction
If you already have waivers, rental agreements, or house rules as PDF files from your lawyer or property management company, you do not need to retype them. Click AI Import from PDF when adding agreement content. ArrivHQ extracts the text — even from scanned or image-based documents — and places it in the content area for you to review and edit.
For Tier 2 agreements, you can also use AI Extract Sections to break the document into logical sections for initialing. The AI reads your agreement and suggests section boundaries. You can review, edit, add, or remove sections before saving. Uploading a PDF for a Tier 2 step extracts text and creates sections in one step.
Per-guest signing
Each guest assigned to a checklist with agreement steps must sign individually. This includes every adult staying at the property. For minors, a parent or guardian signs on their behalf. Each person's signed copy is stored separately with their own signing metadata — name, IP address, timestamp, and content hash.
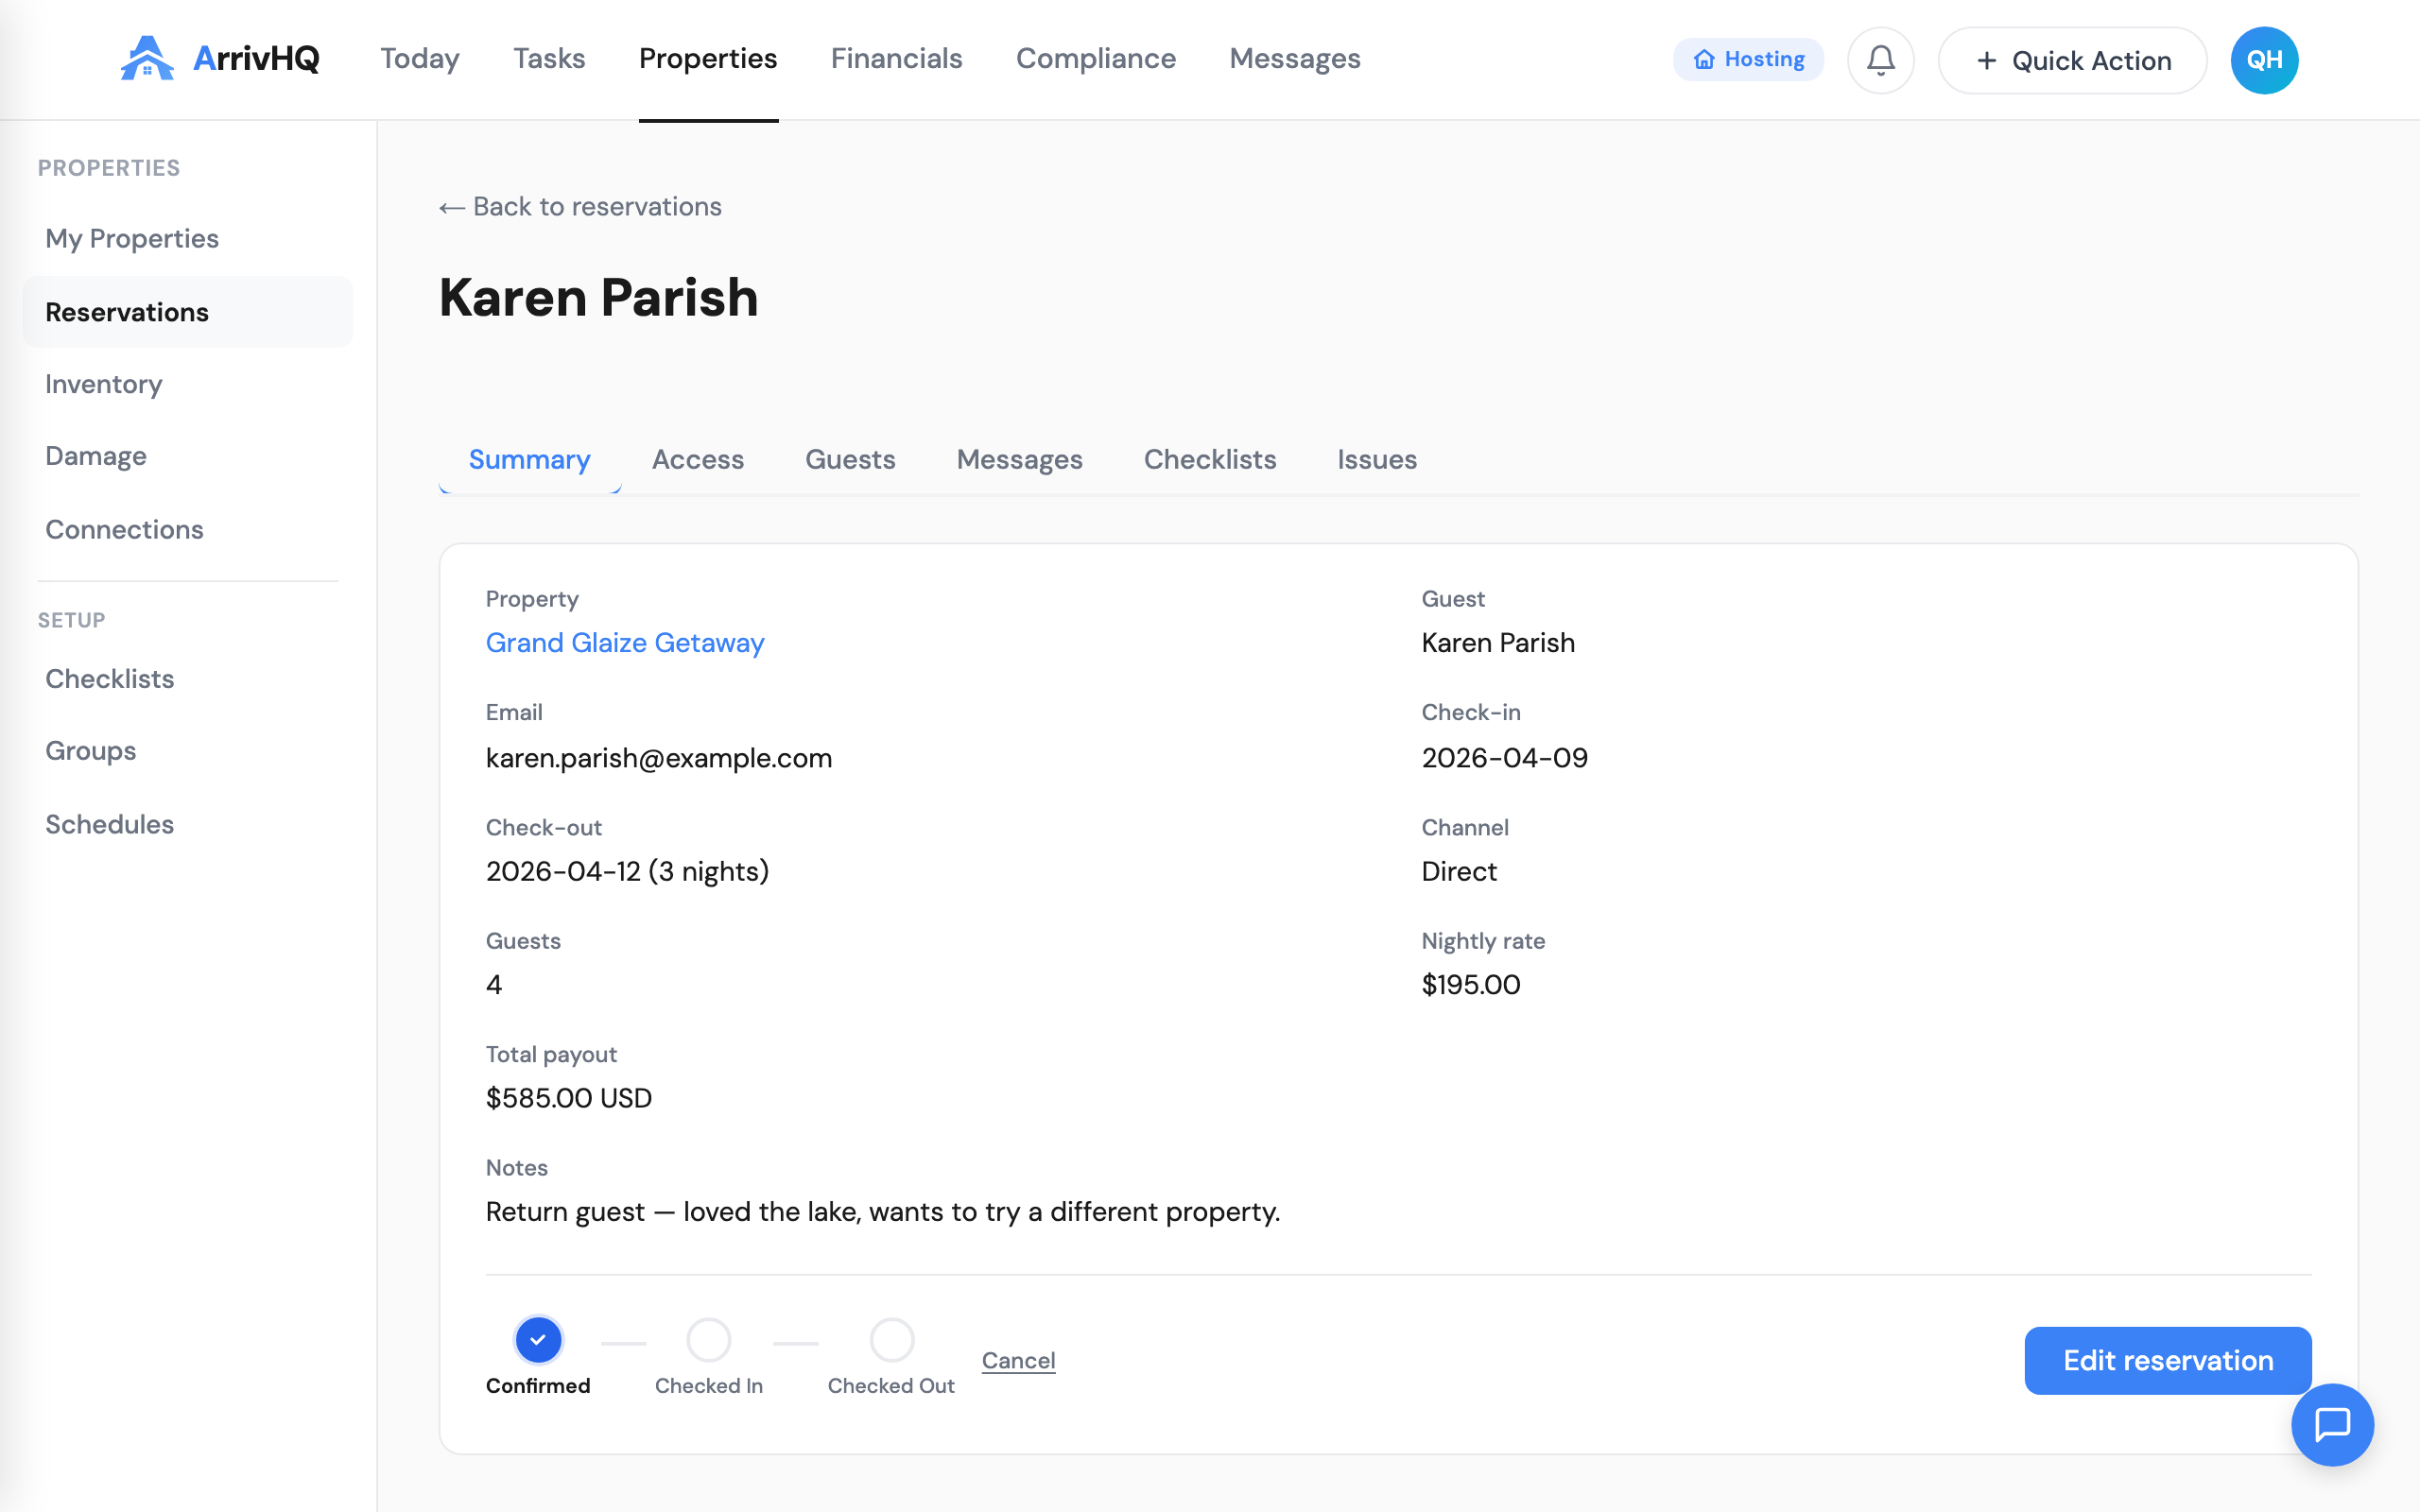
Tracking completion
From your dashboard, you can see which guests have completed which checklists. The status view shows Complete, In Progress, or Not Started for each assigned guest. Click a guest's name to see the item-level detail, including timestamps for each acknowledgment or signature.
If a guest has not started their checklist, you can follow up through the messaging feature. There is no automatic reminder system, so the nudge comes from you.
Plan requirements
Guest checklist creation requires the Host or Portfolio plan. Tier 1 acknowledgments are available on all plans, but Tier 2 e-signatures require the Host plan or higher. AI Import from PDF works on all plans. AI Extract Sections requires the Host plan or higher.
For the complete reference, see the Guest Checklists documentation.